Step 0: Design
Constraints:
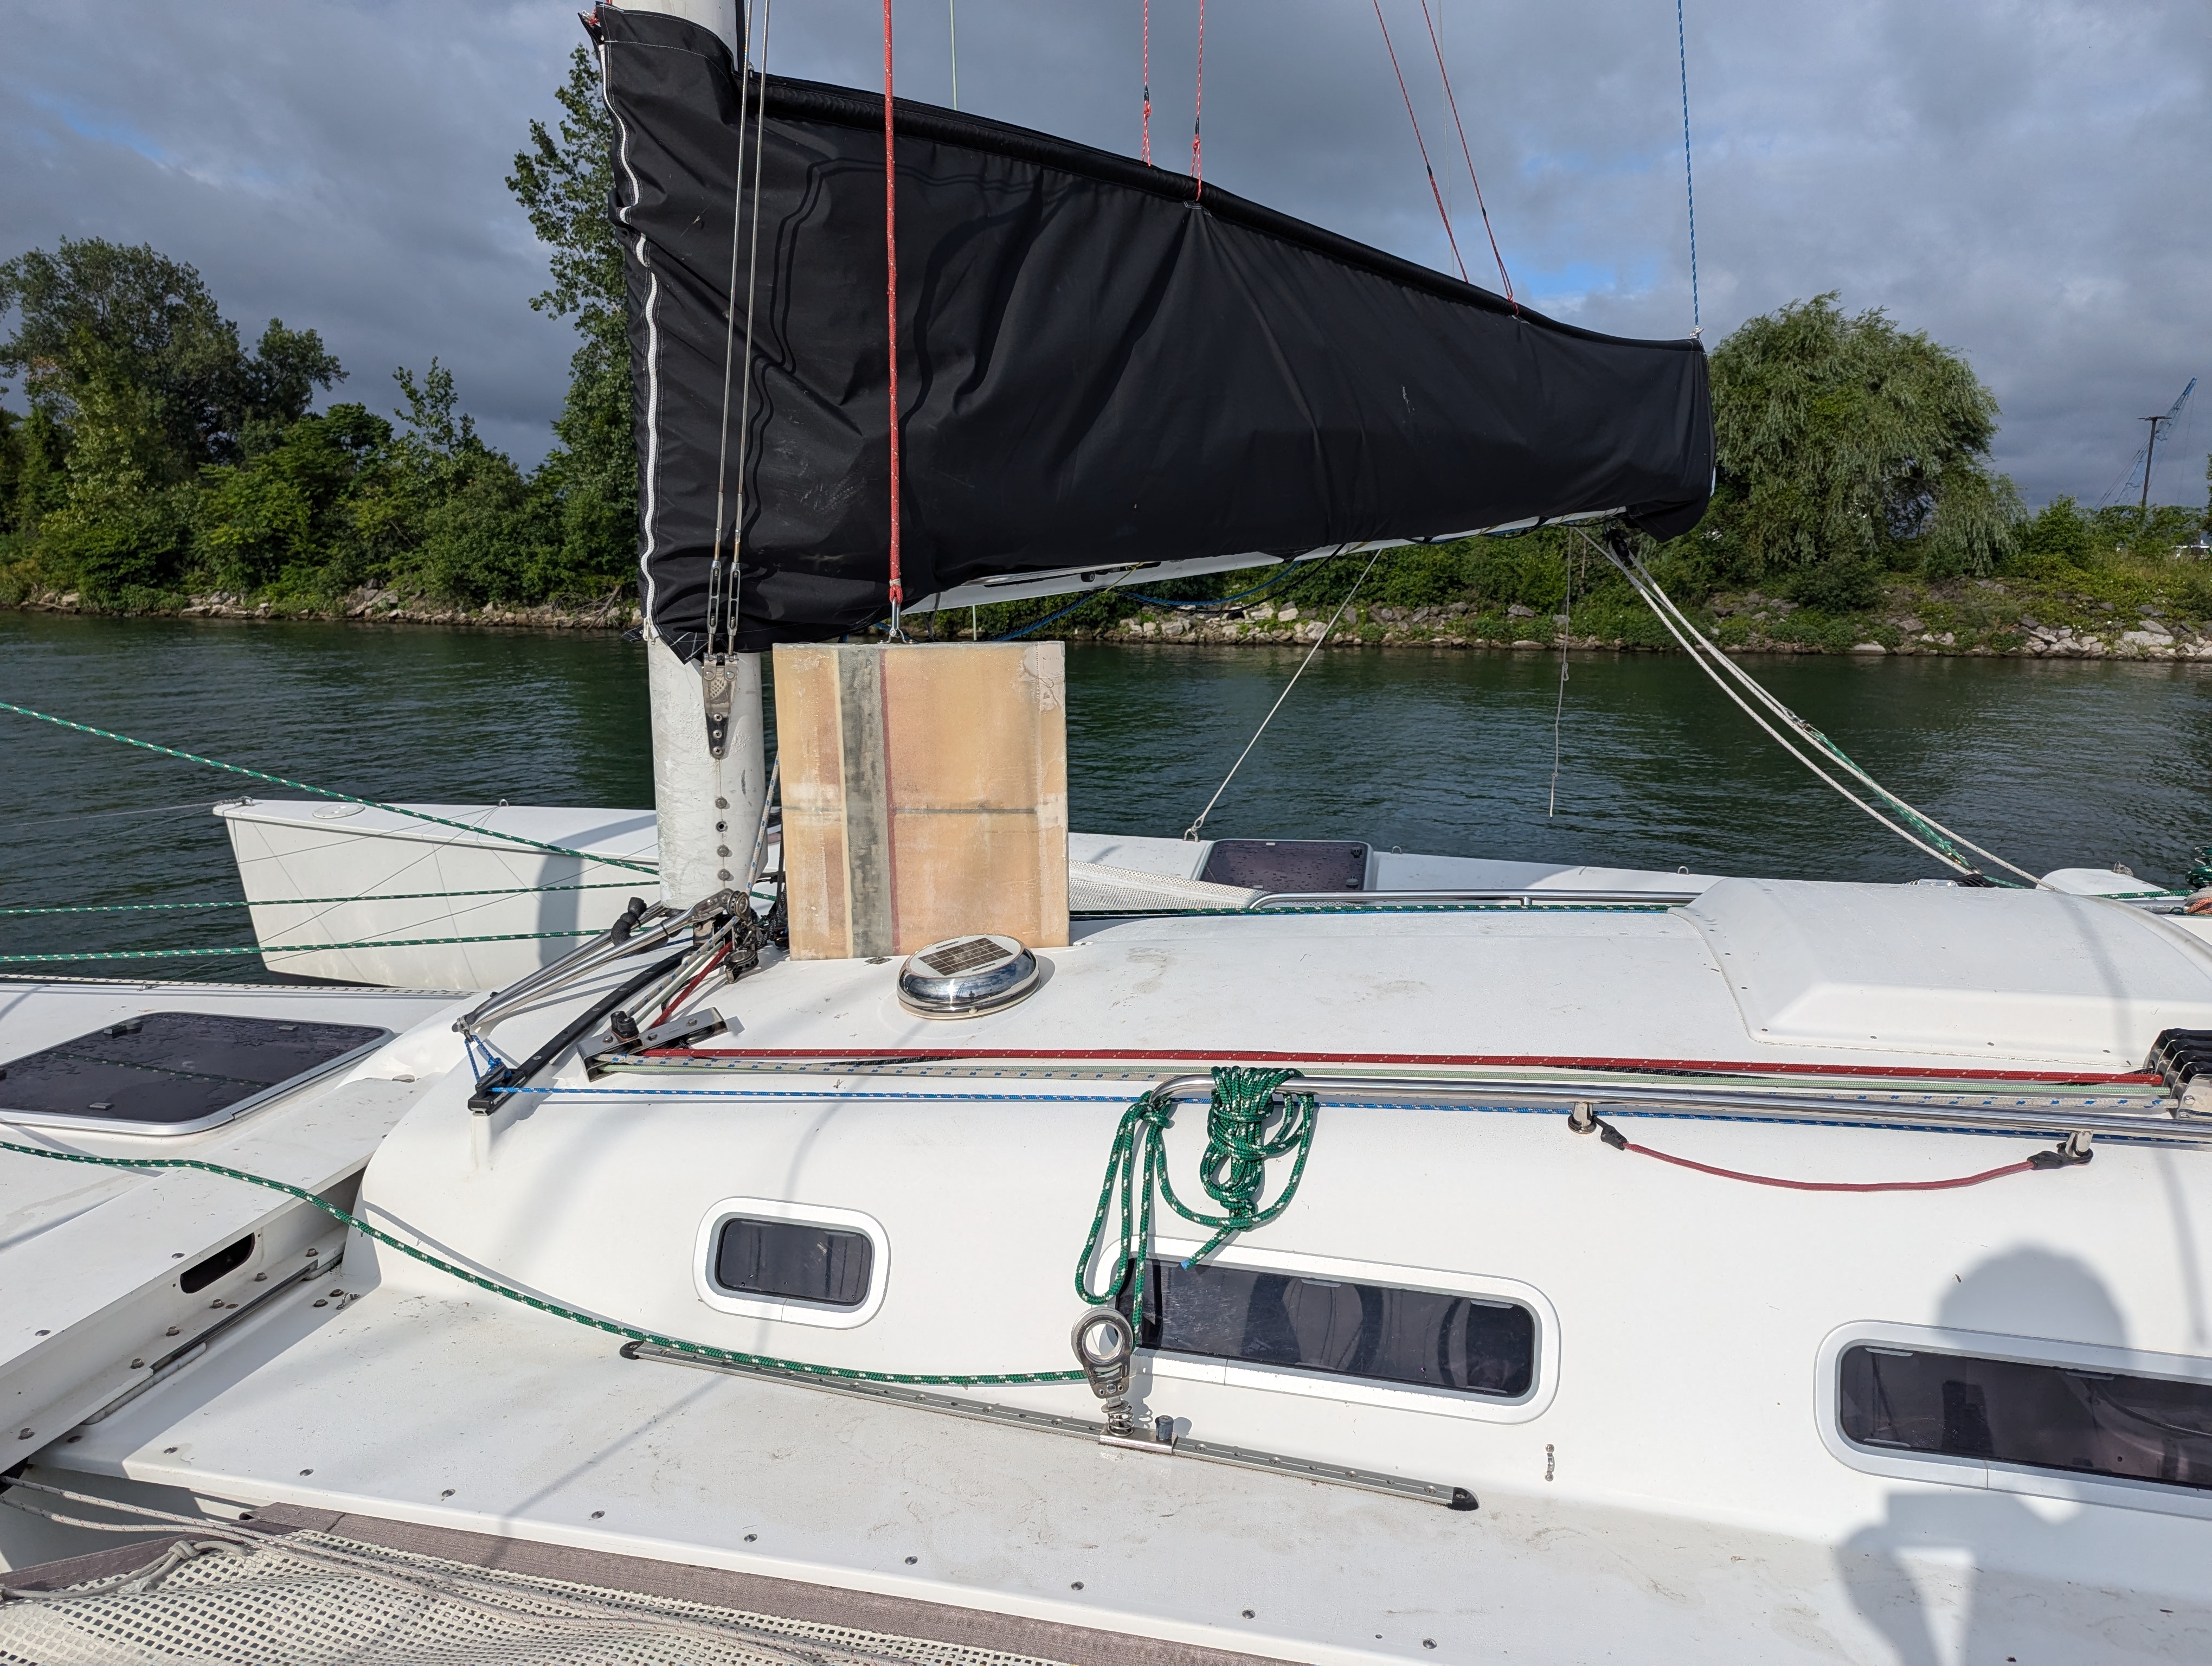
In most performance oriented multihulls, an effort is made to lower the total weight. Consequently, daggerboards and all other components need to be carefully designed to strike a balance between cost, weight and strength. However, the original Contour 34SC daggerboard sinks, meaning it is at least as heavy as its volume in water. It is necessary because it relies on gravity to go down in the trunk. There is no provision or space for a “daggerboard down” control line on the boat. The “sinking” feature of the daggerboard was retained for the new design.
Structure:
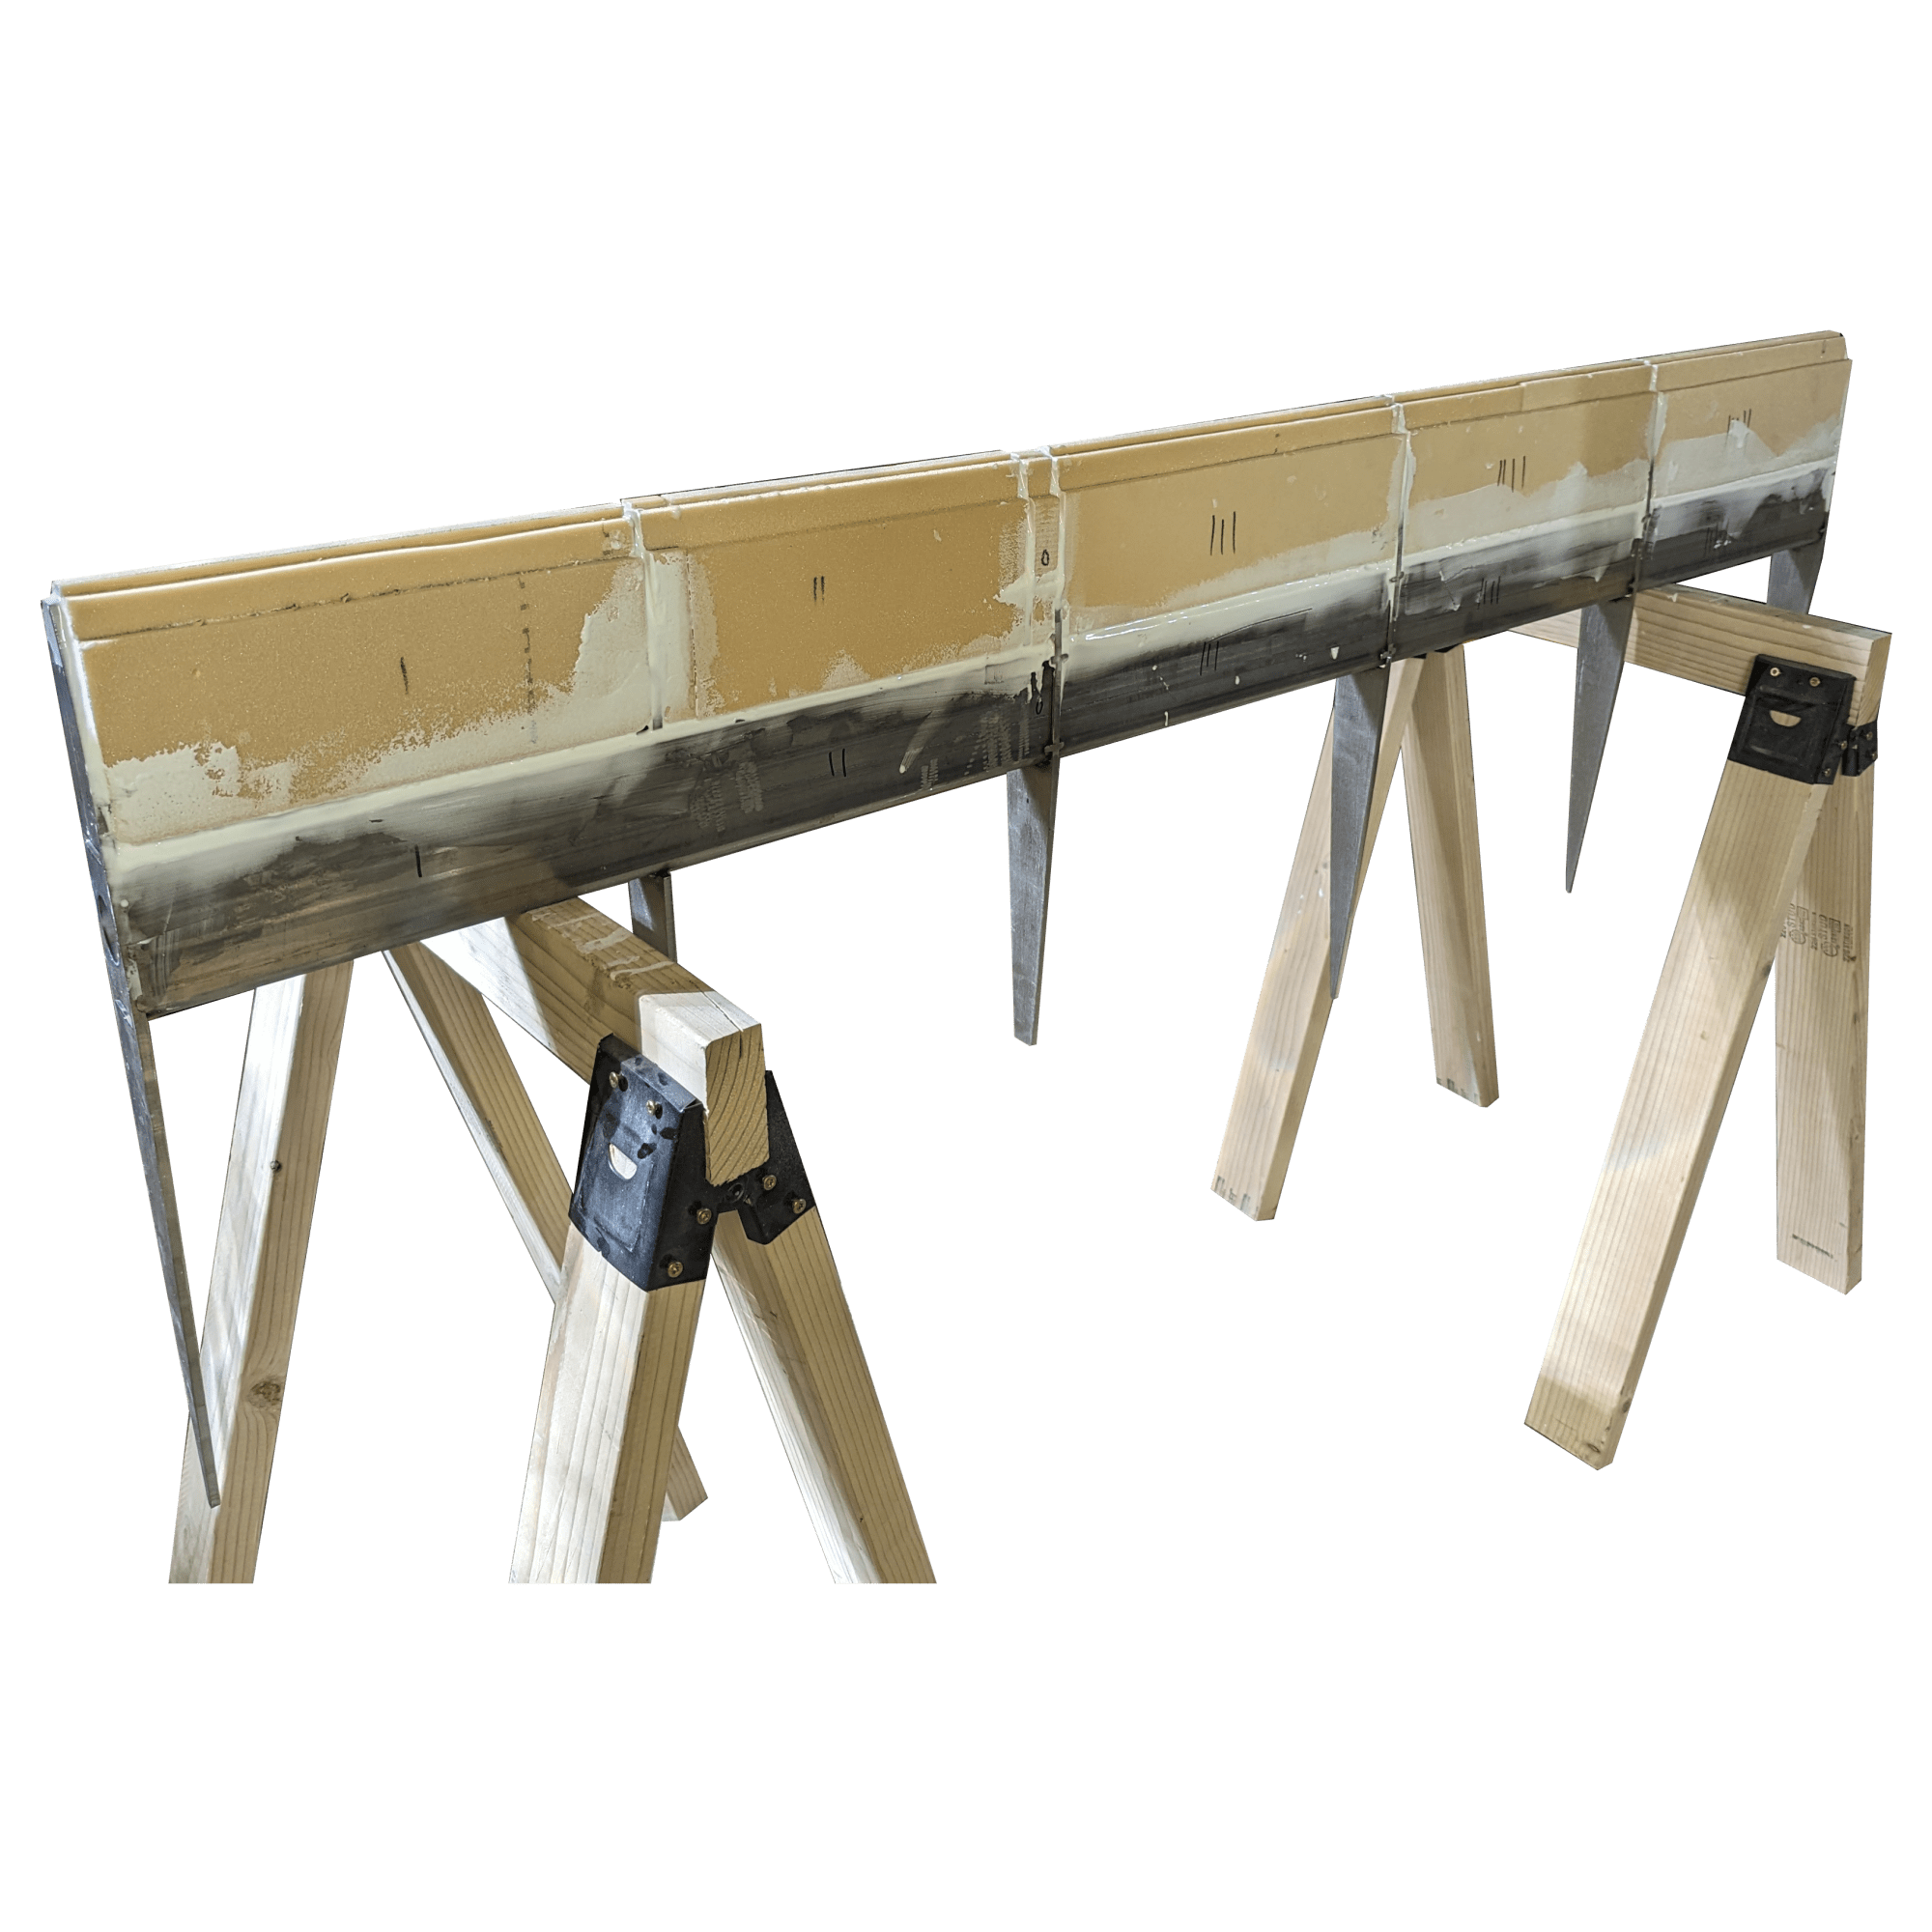
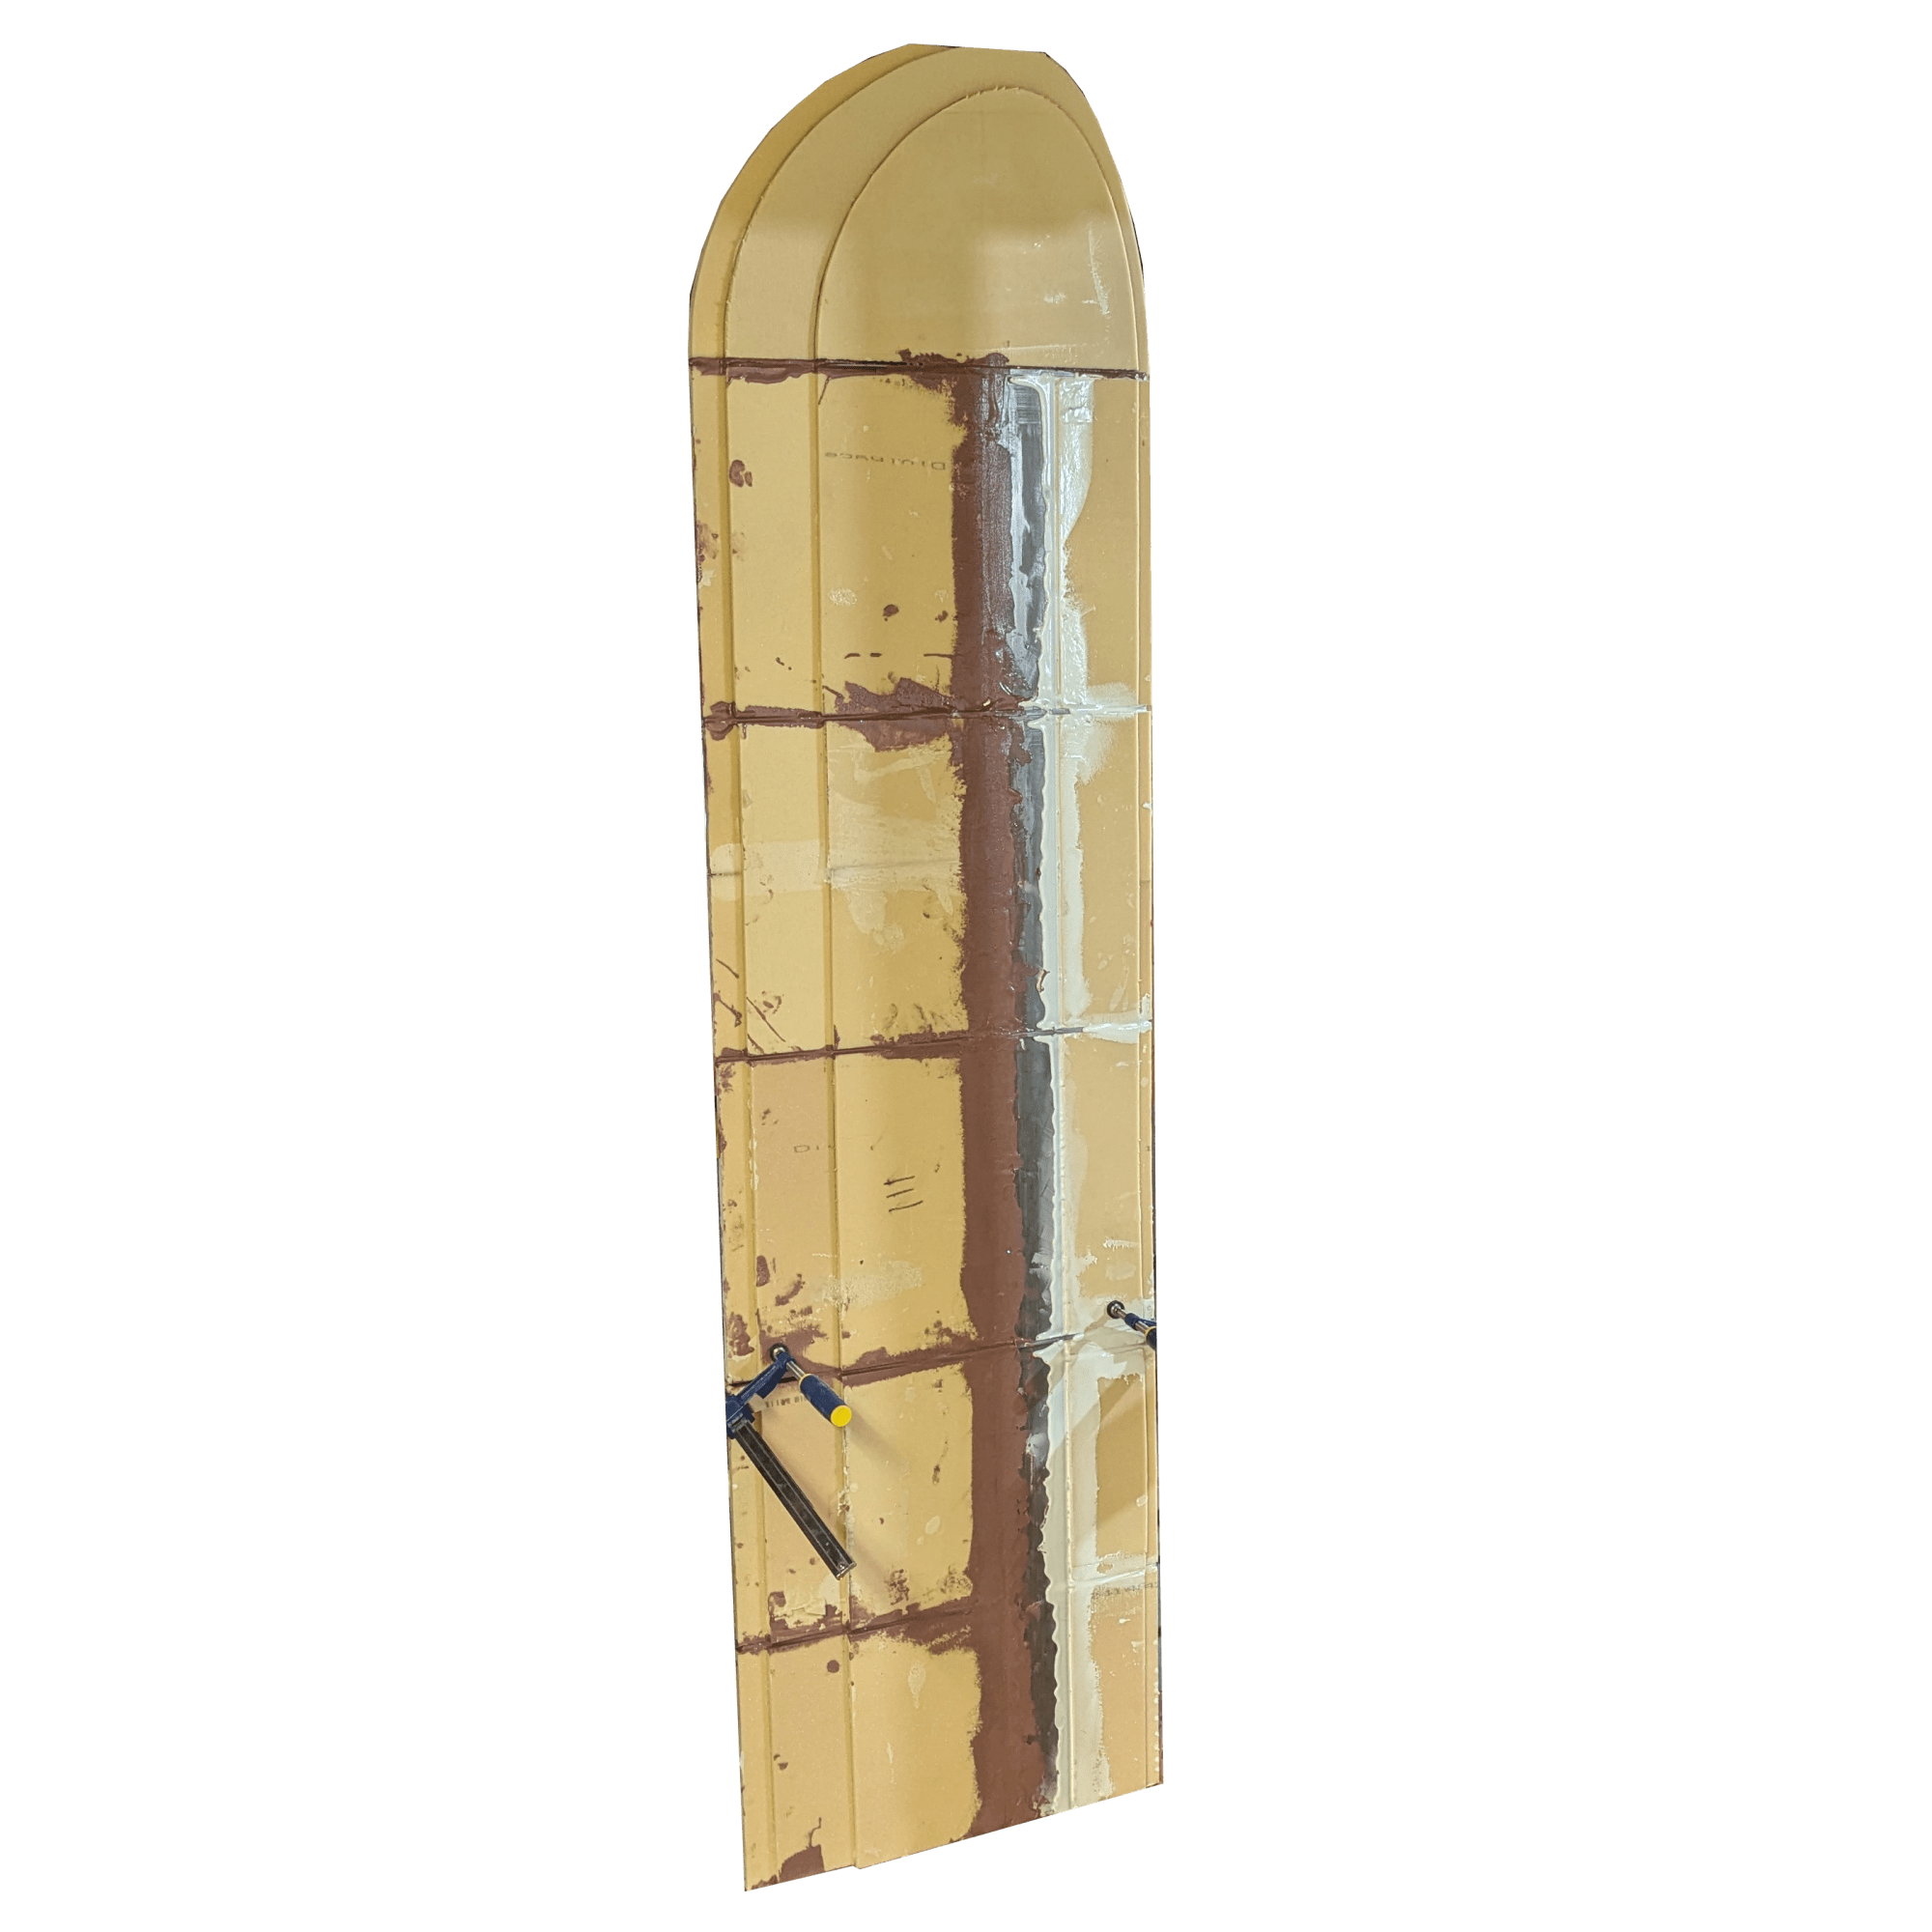
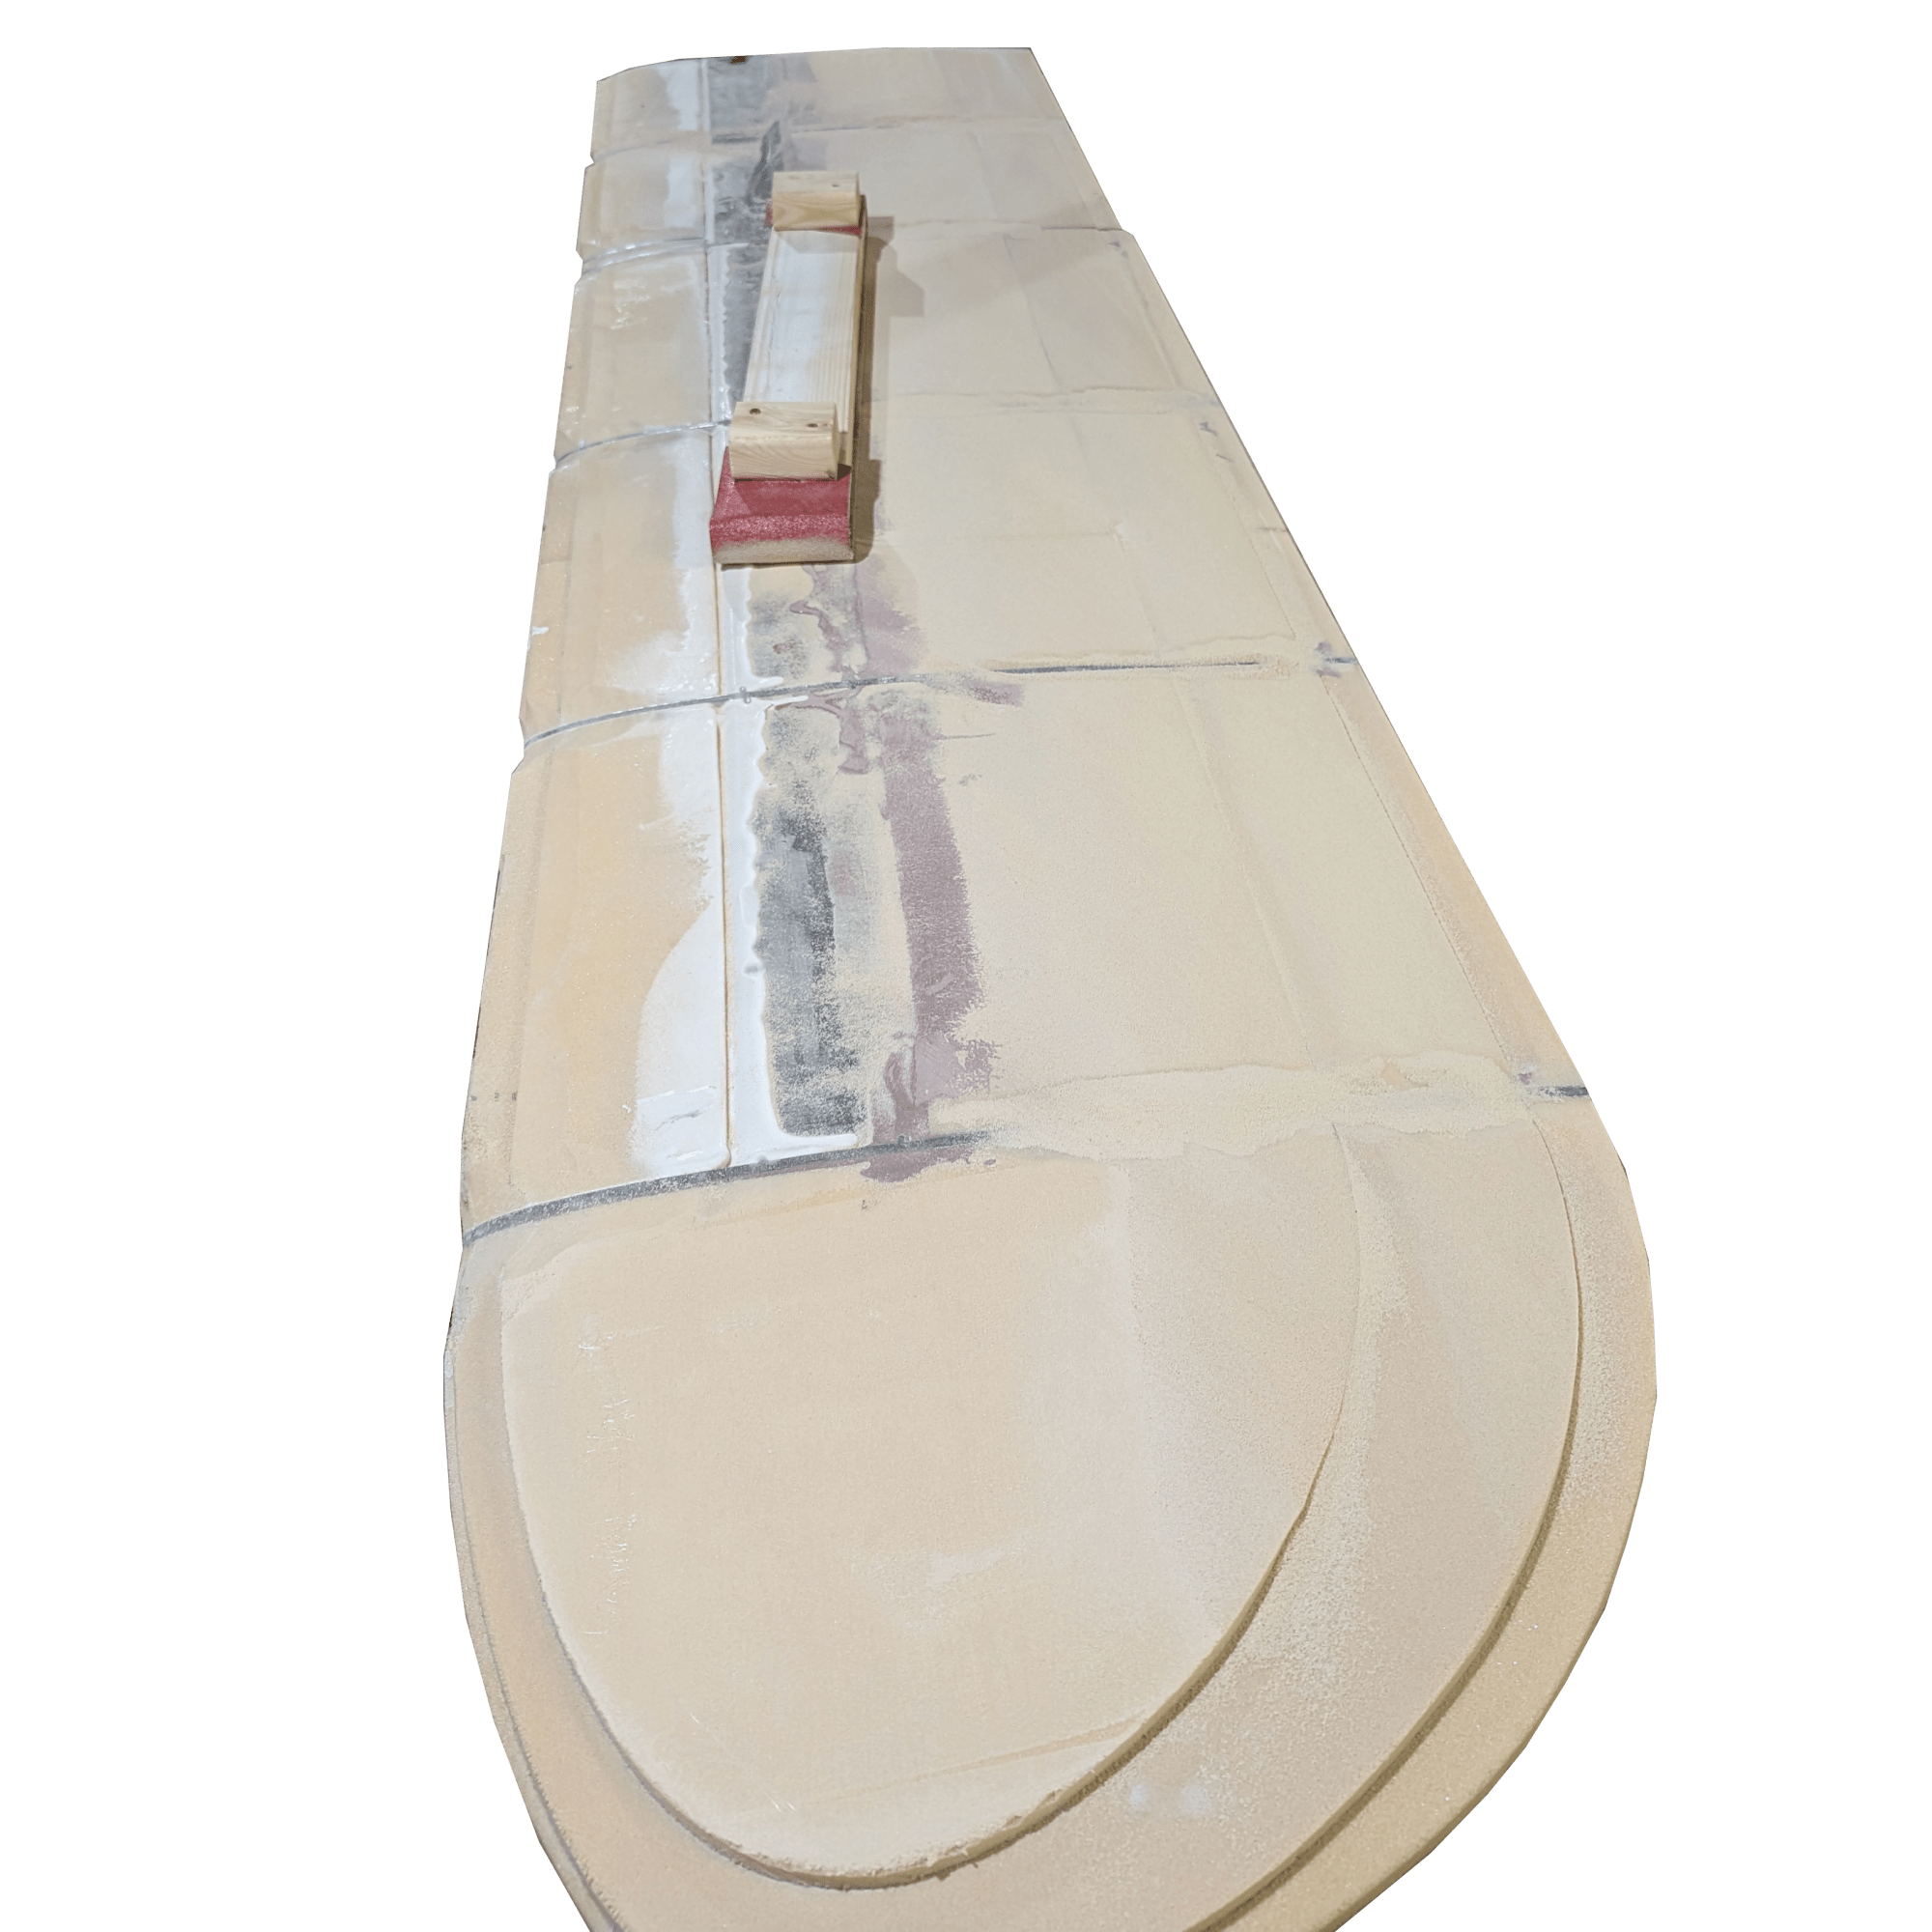
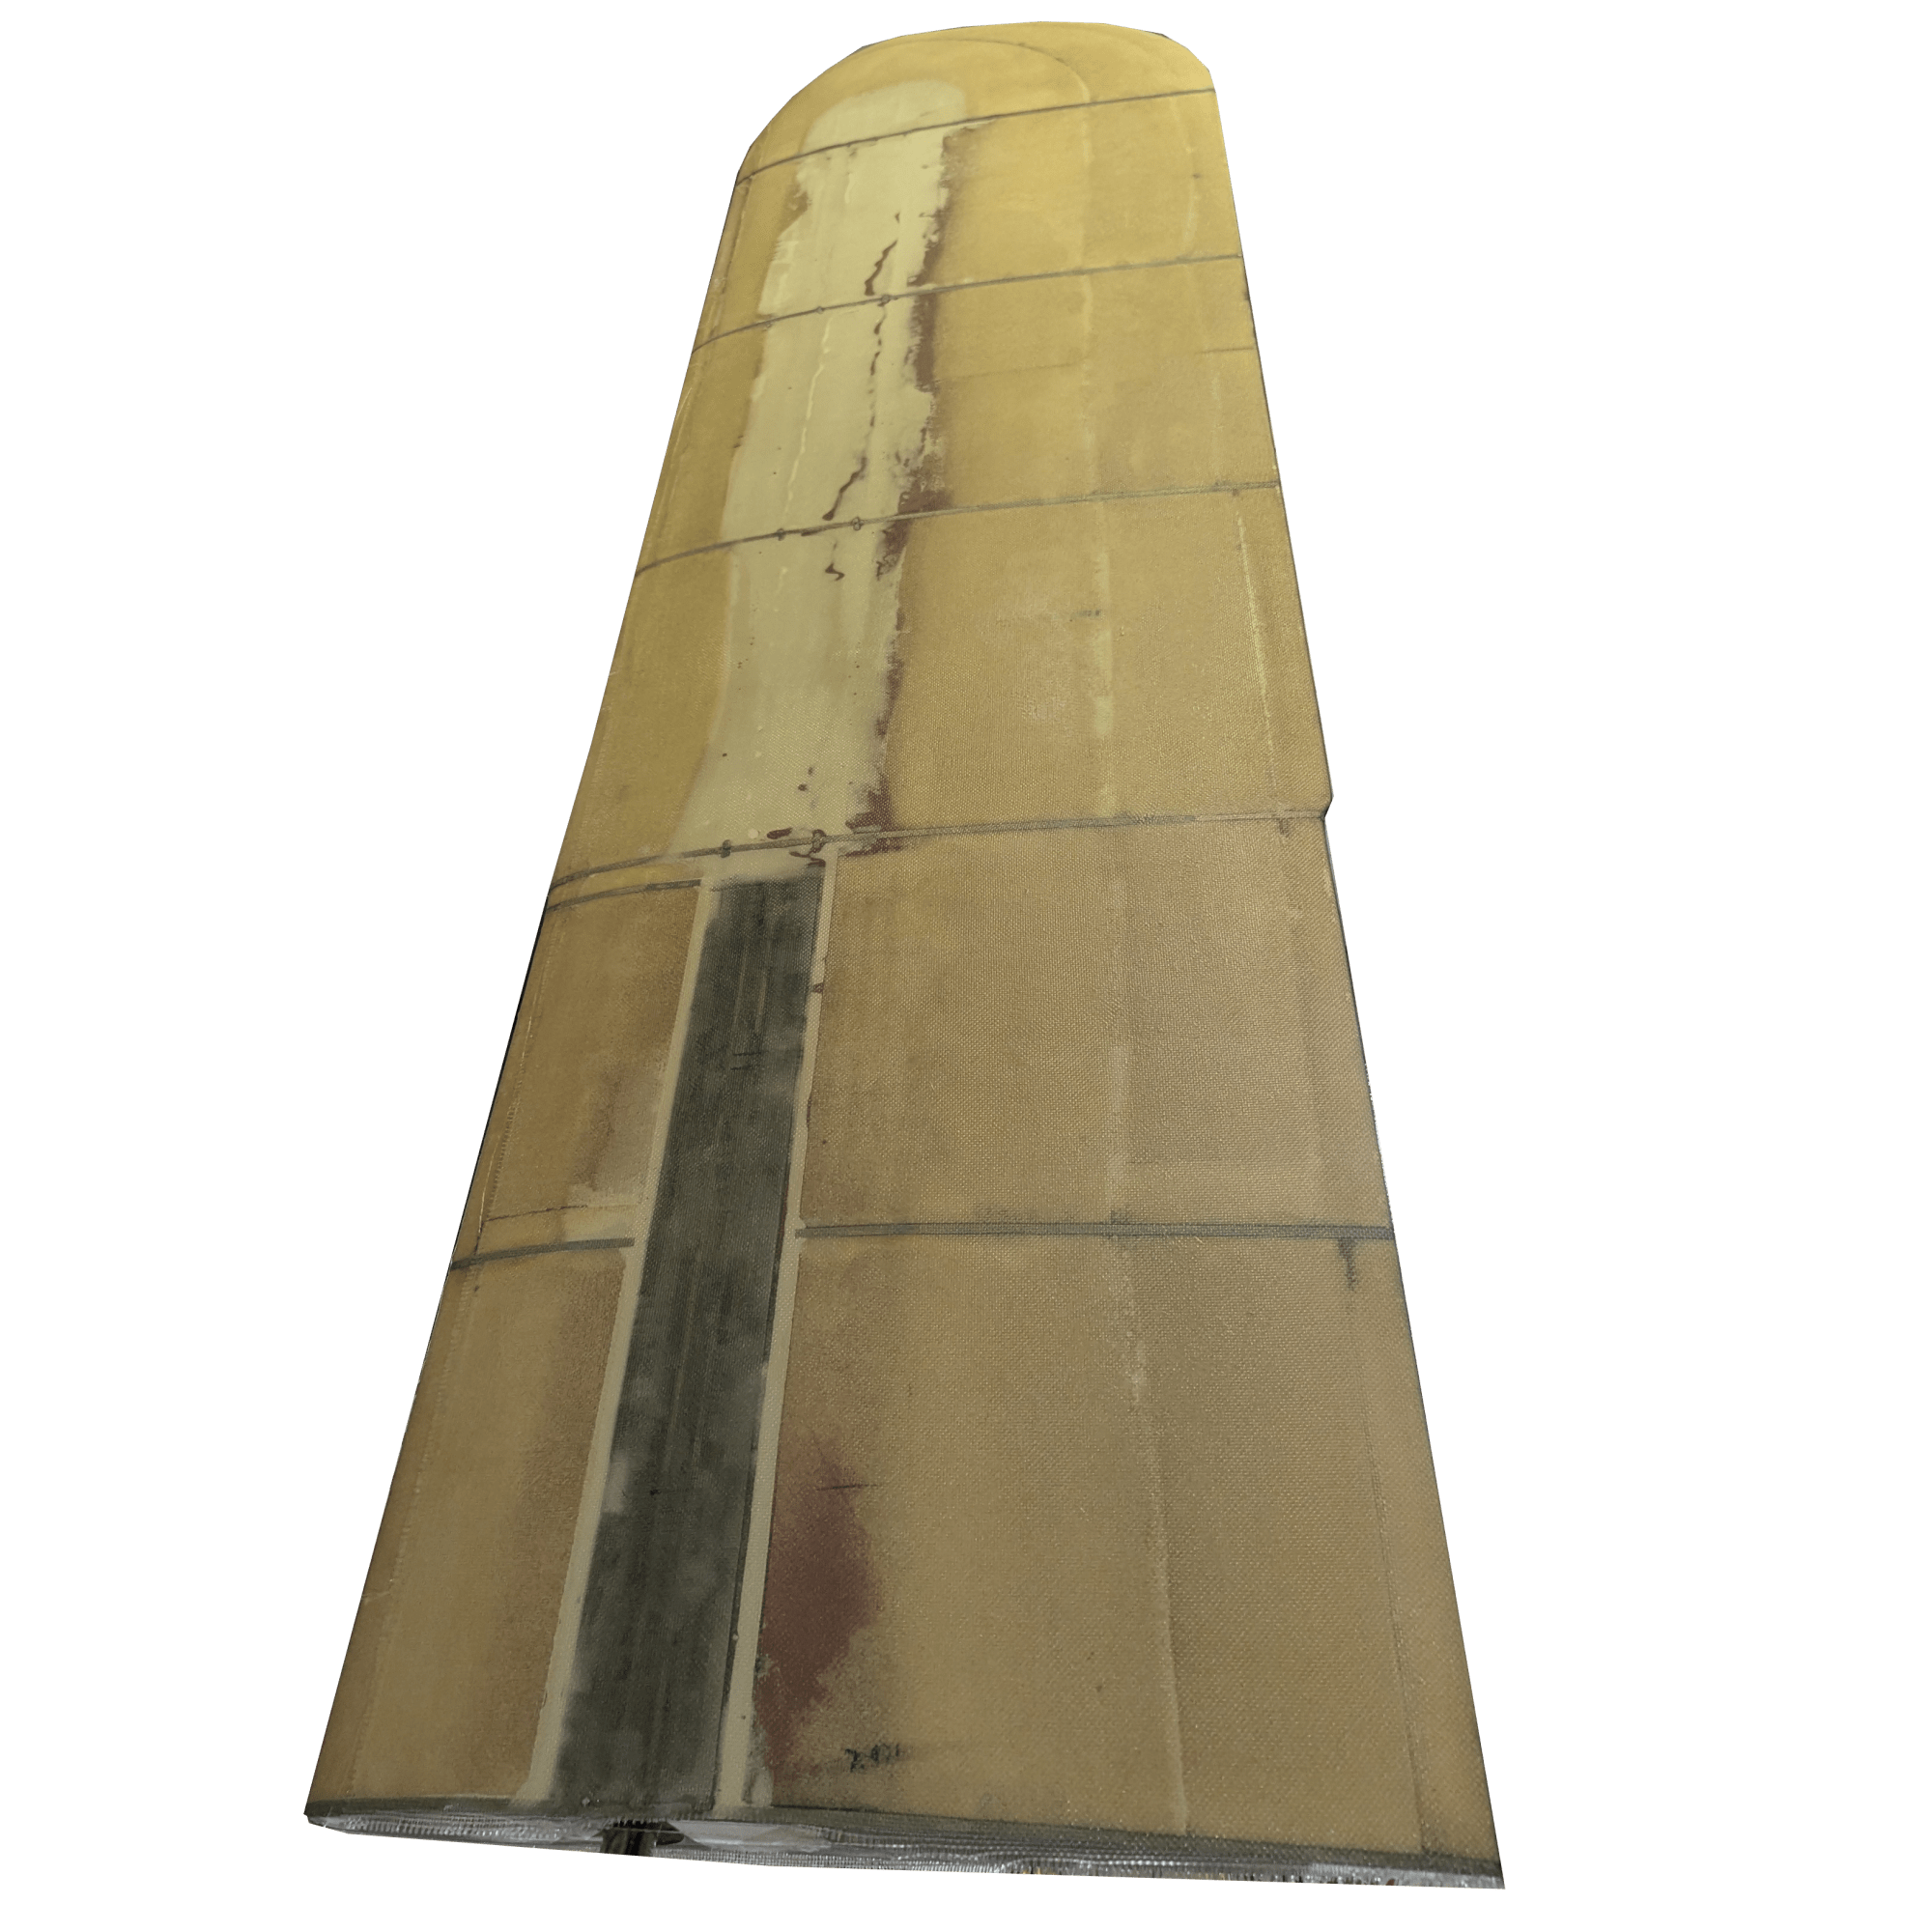
It is easy to design a very strong daggerboard when no compromise is required to achieve a low weight, it actually becomes hard to make it heavy enough. The original daggerboard consisted of two molded fiberglass halves, bonded together with an aluminum beam in the center. The sinking weight was achieved with the addition of lead shots poured in the empty daggerboard shell before it was closed. I opted for a stainless structure consisting of a 2″x4″ 1/4″ wall tube and 1/4″ thick ribs. The tube supports the bending loads while the ribs control the twisting and control the shape of the board. It is also just heavy enough, when combined with the rest of the materials, to sink to the desired depth. The stainless parts are welded together. The space between the ribs is filled with closed cell foam core and sanded to shape. The stainless ribs helped control the shape while sanding down the foam. The last foot of the daggerboard is only foam and fiberglass and is sacrificial.
Shape:
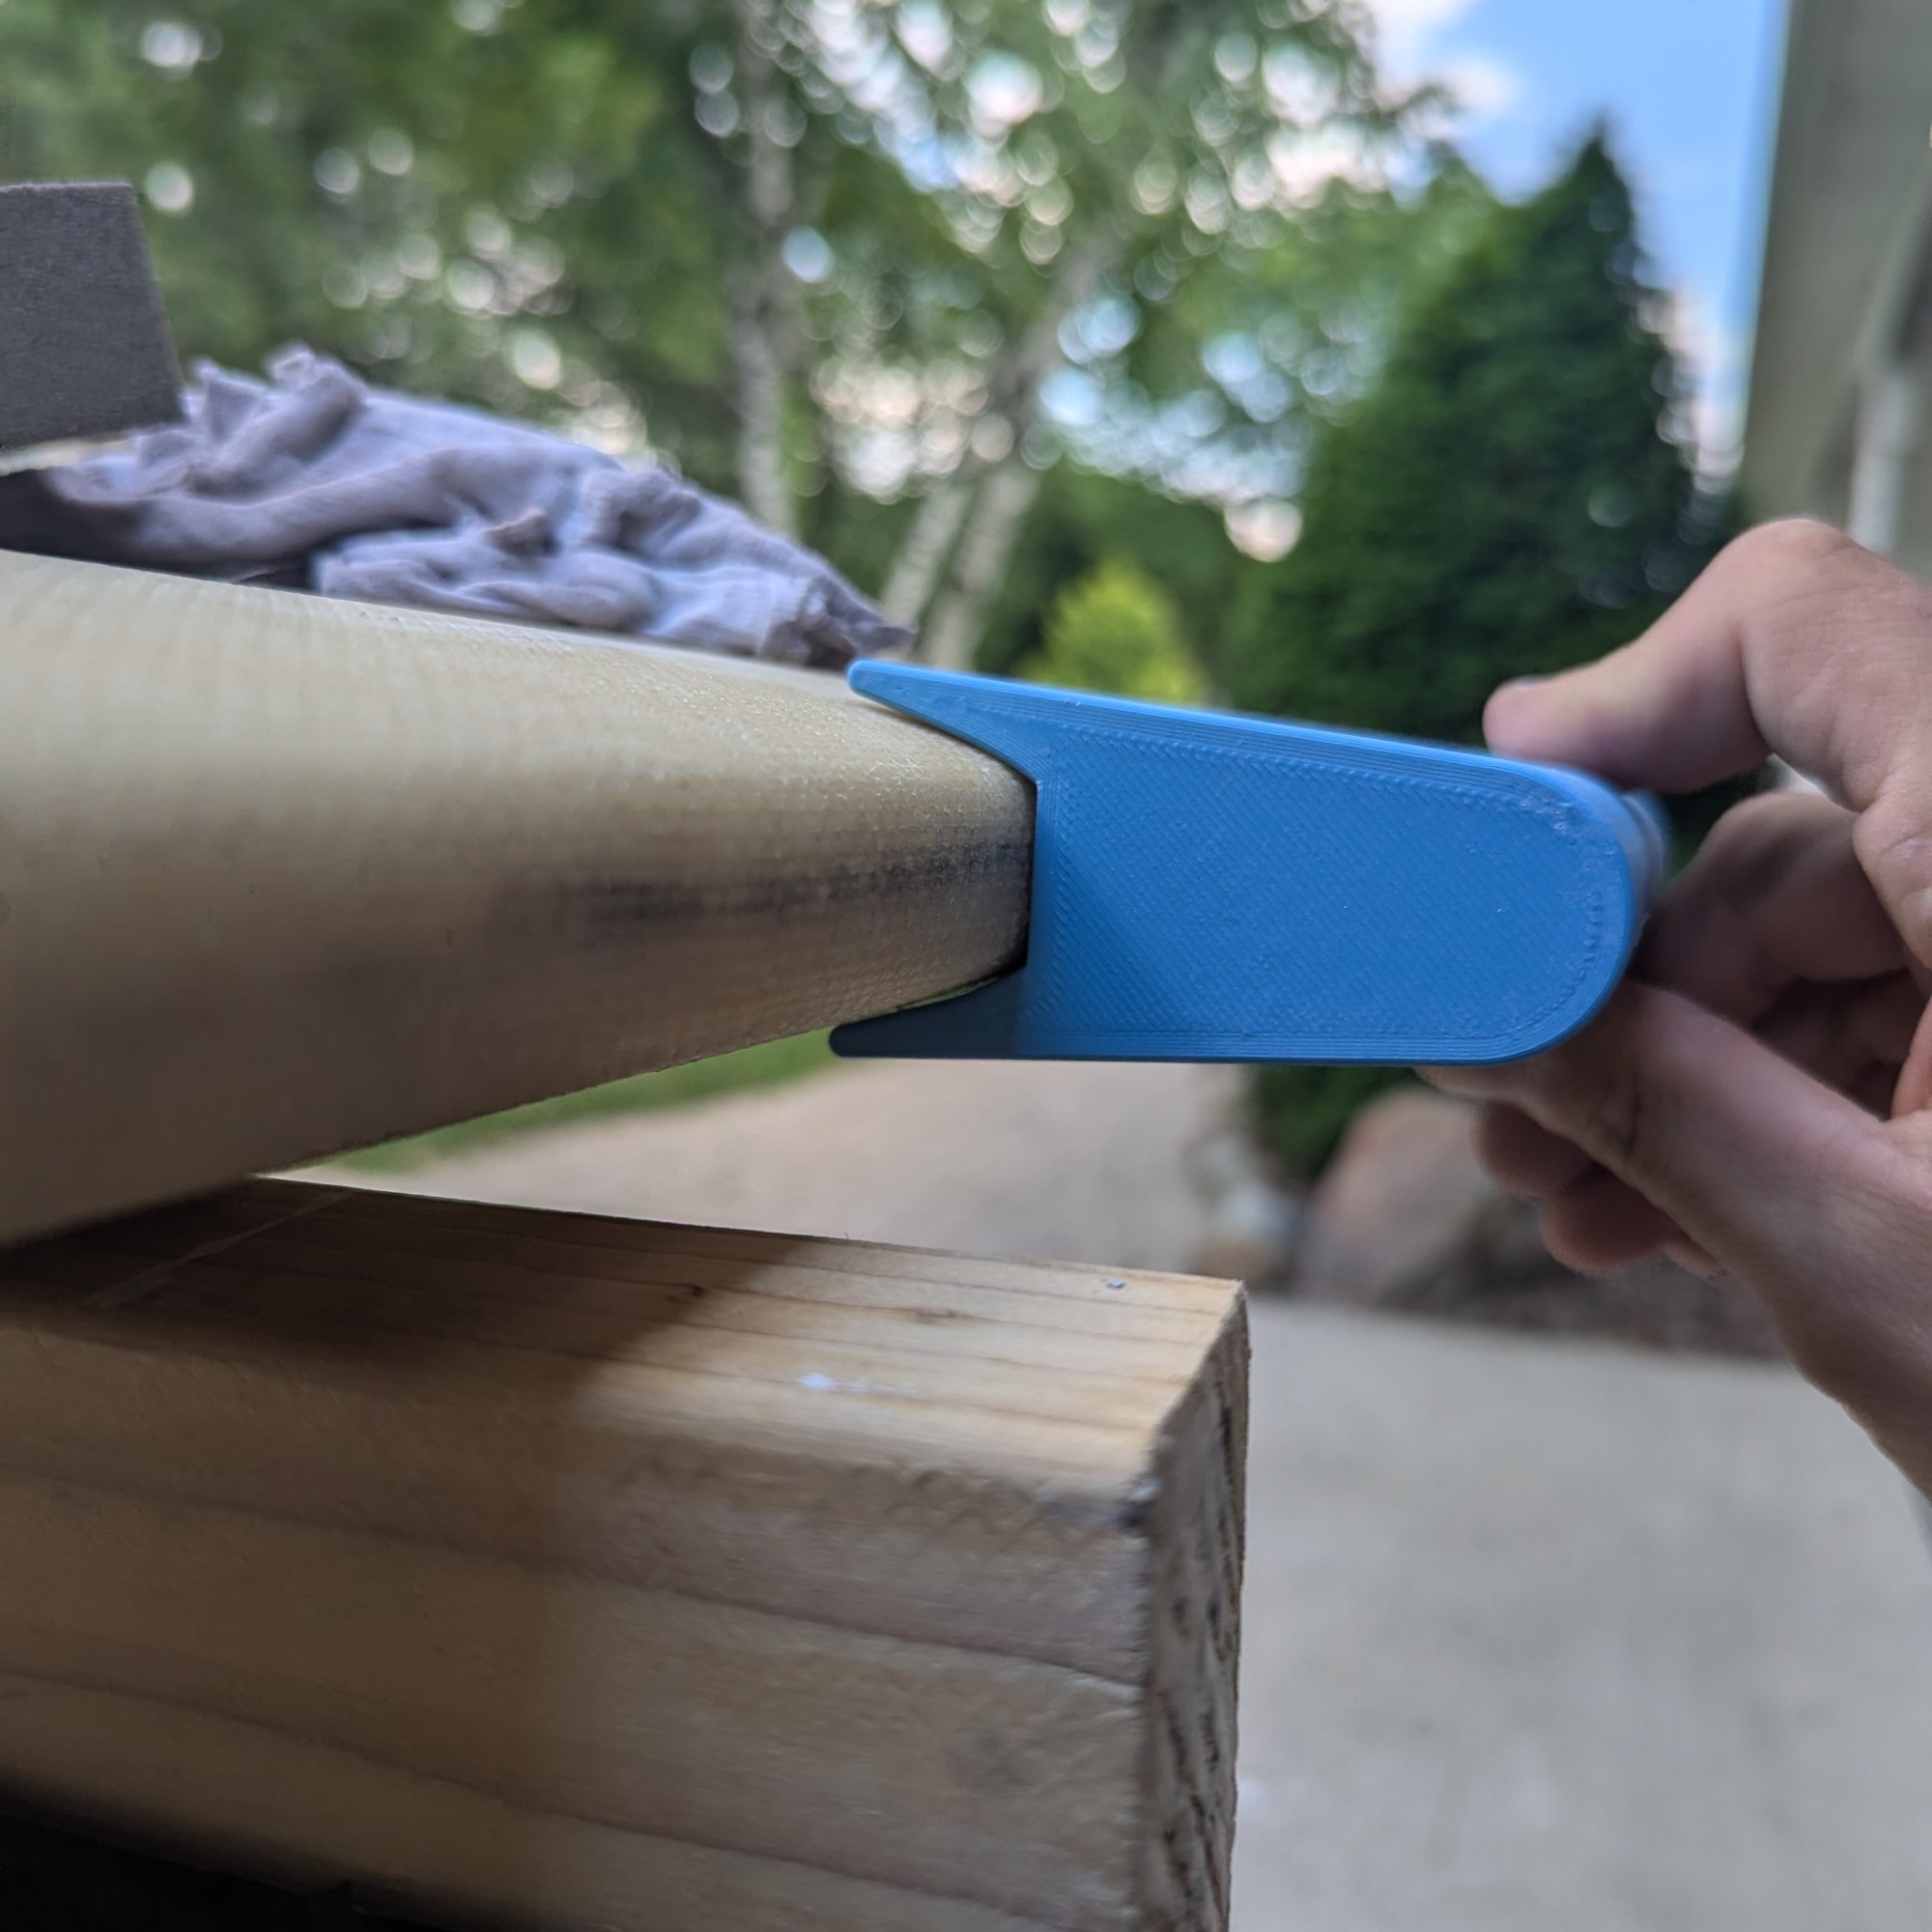
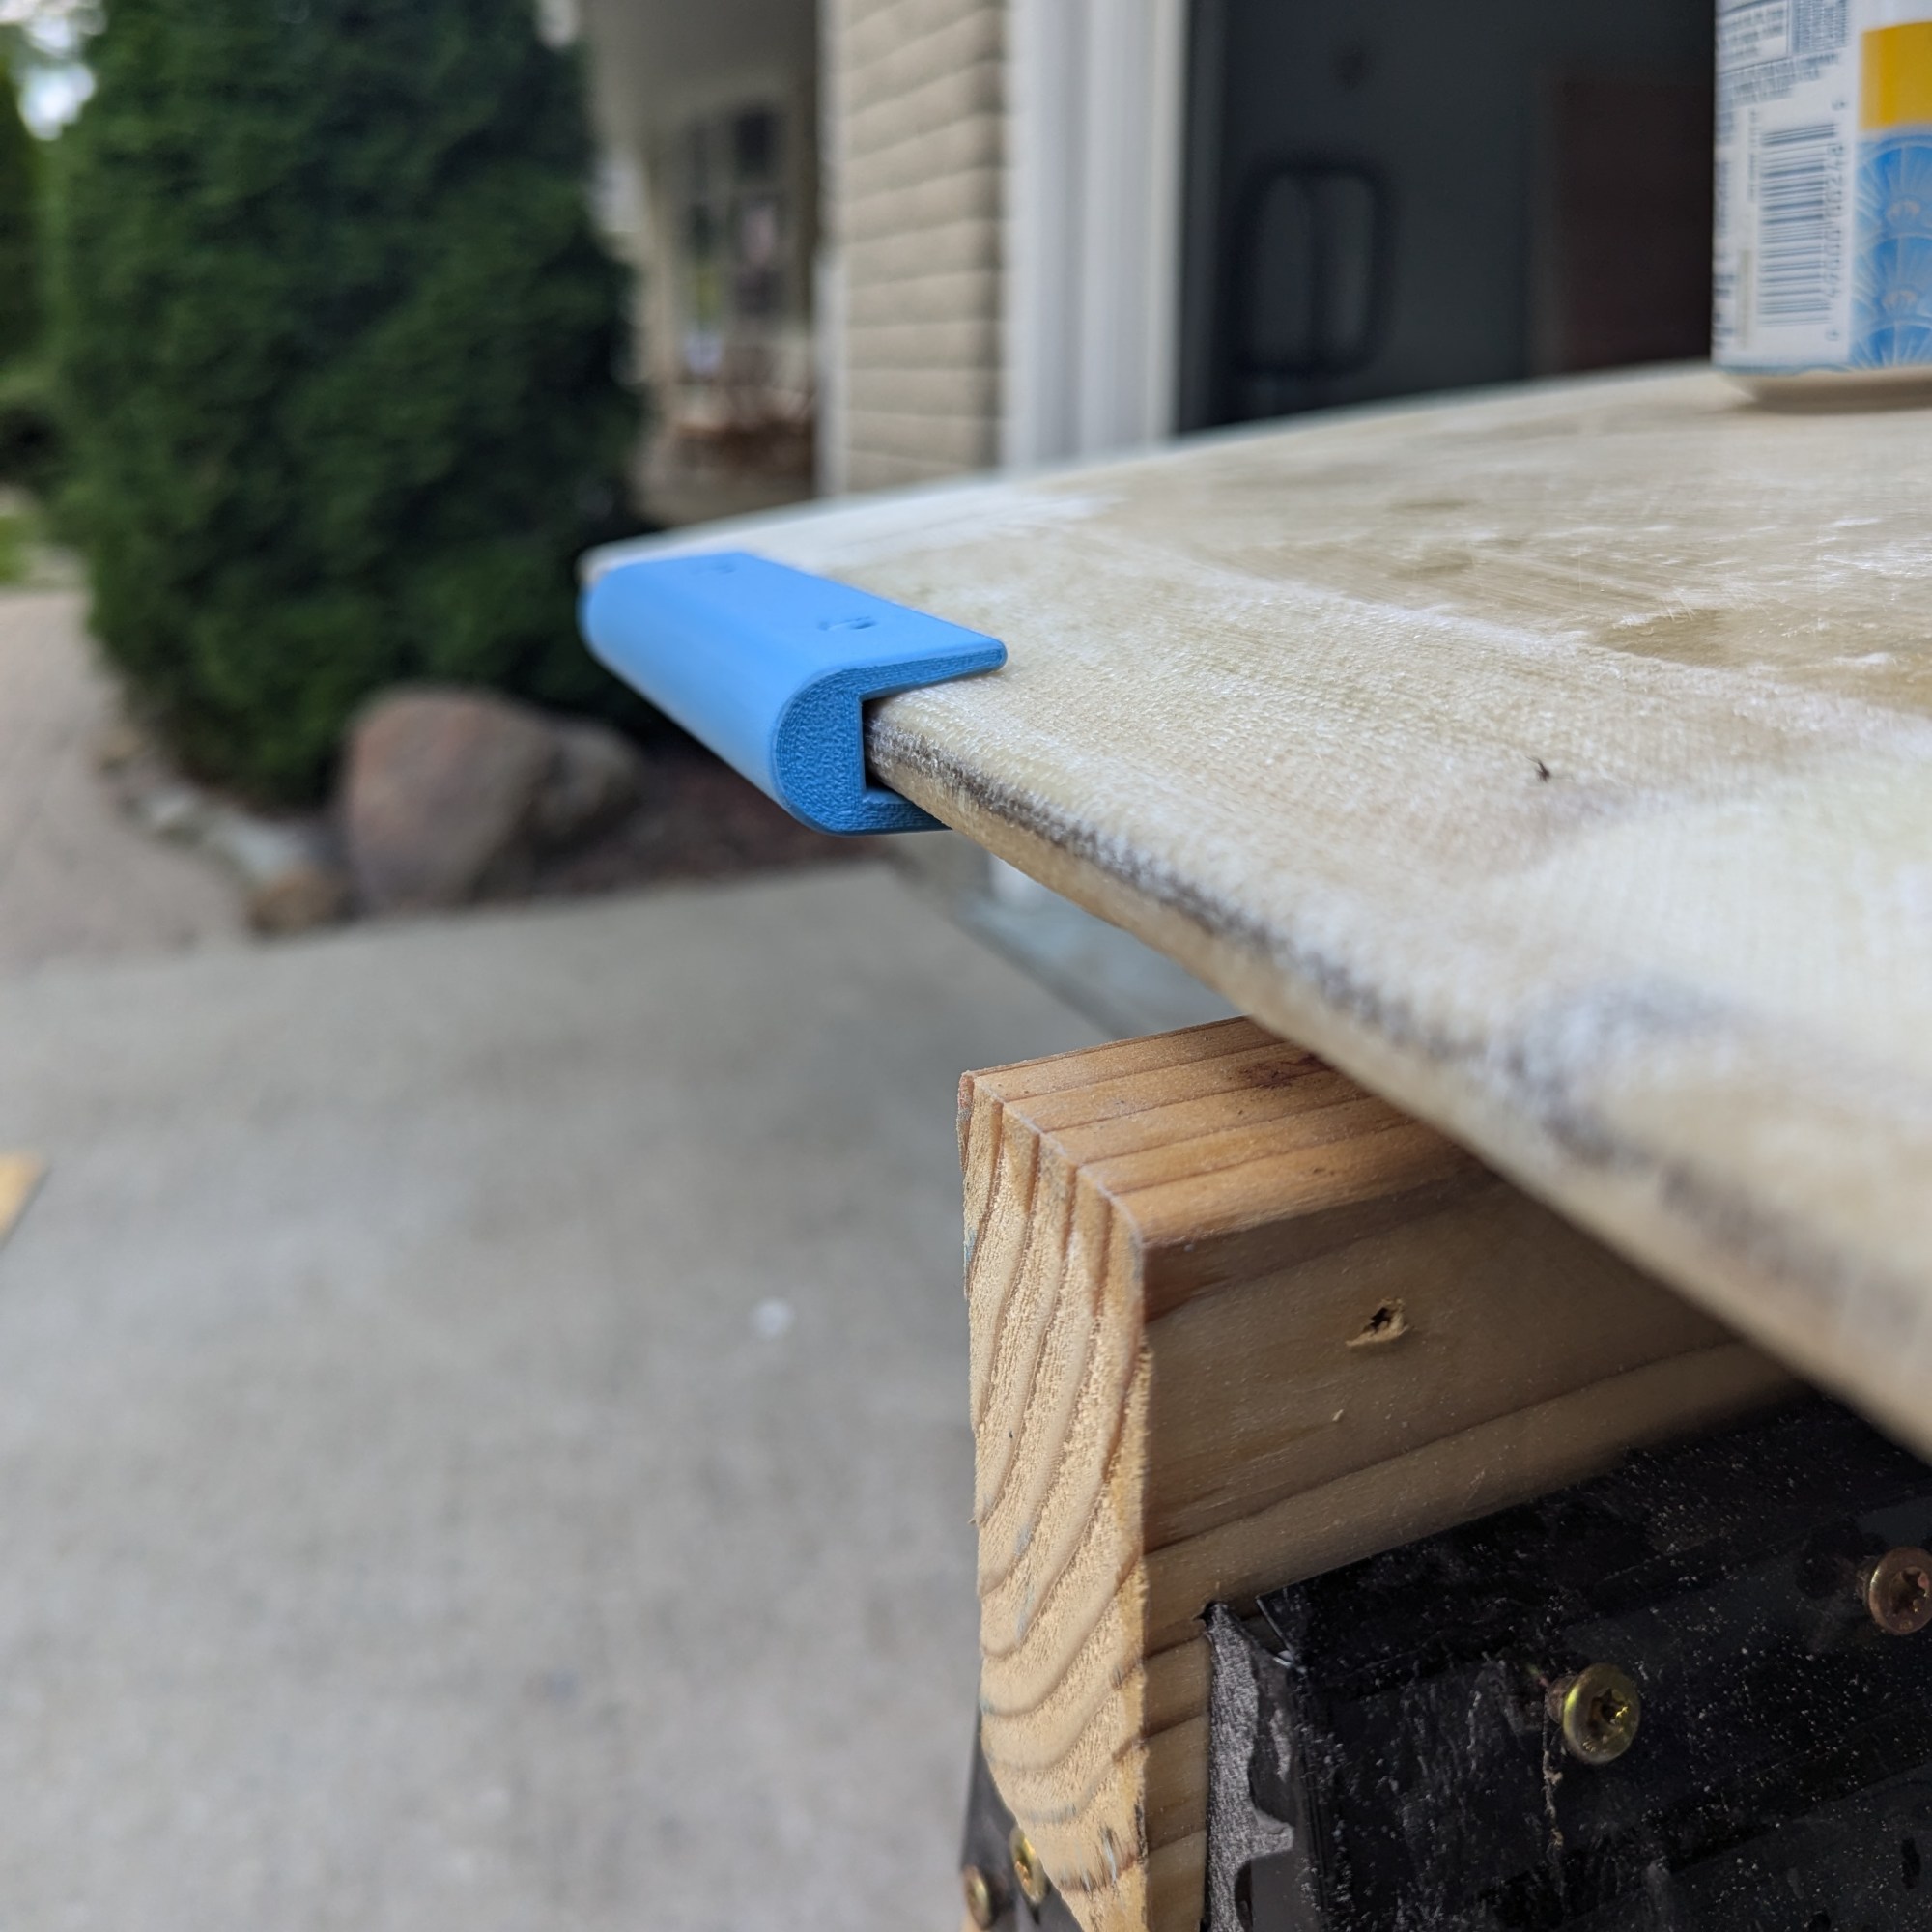
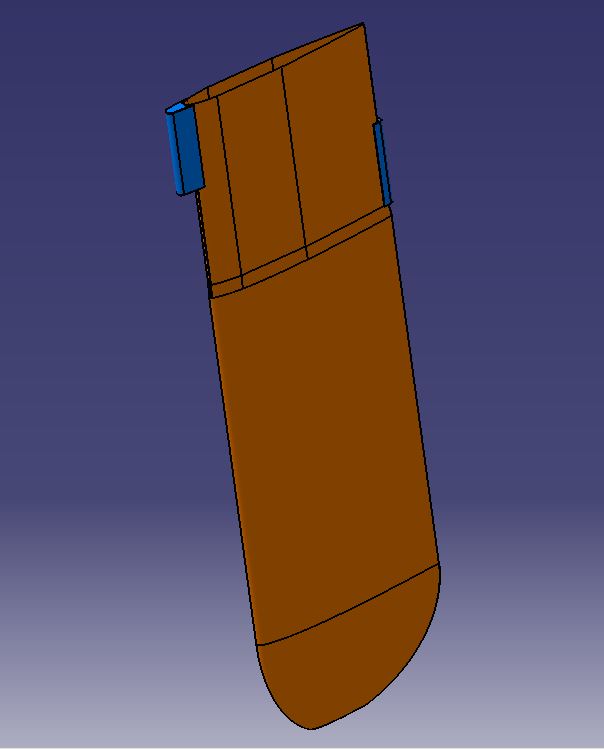
A NACA 0012 profile was selected for the foil. The top 24″ of the board that never exits the trunk under the boat is flat on each side of the beam and square at the leading and trailing edge. These flat surfaces exist to make it easier to mount plastic sliders to the daggerboard. Only the sliders contact the trunk. The bottom 12″ tip is shaped by hand between the lowest rib and the end.

Step 1: Material Selection
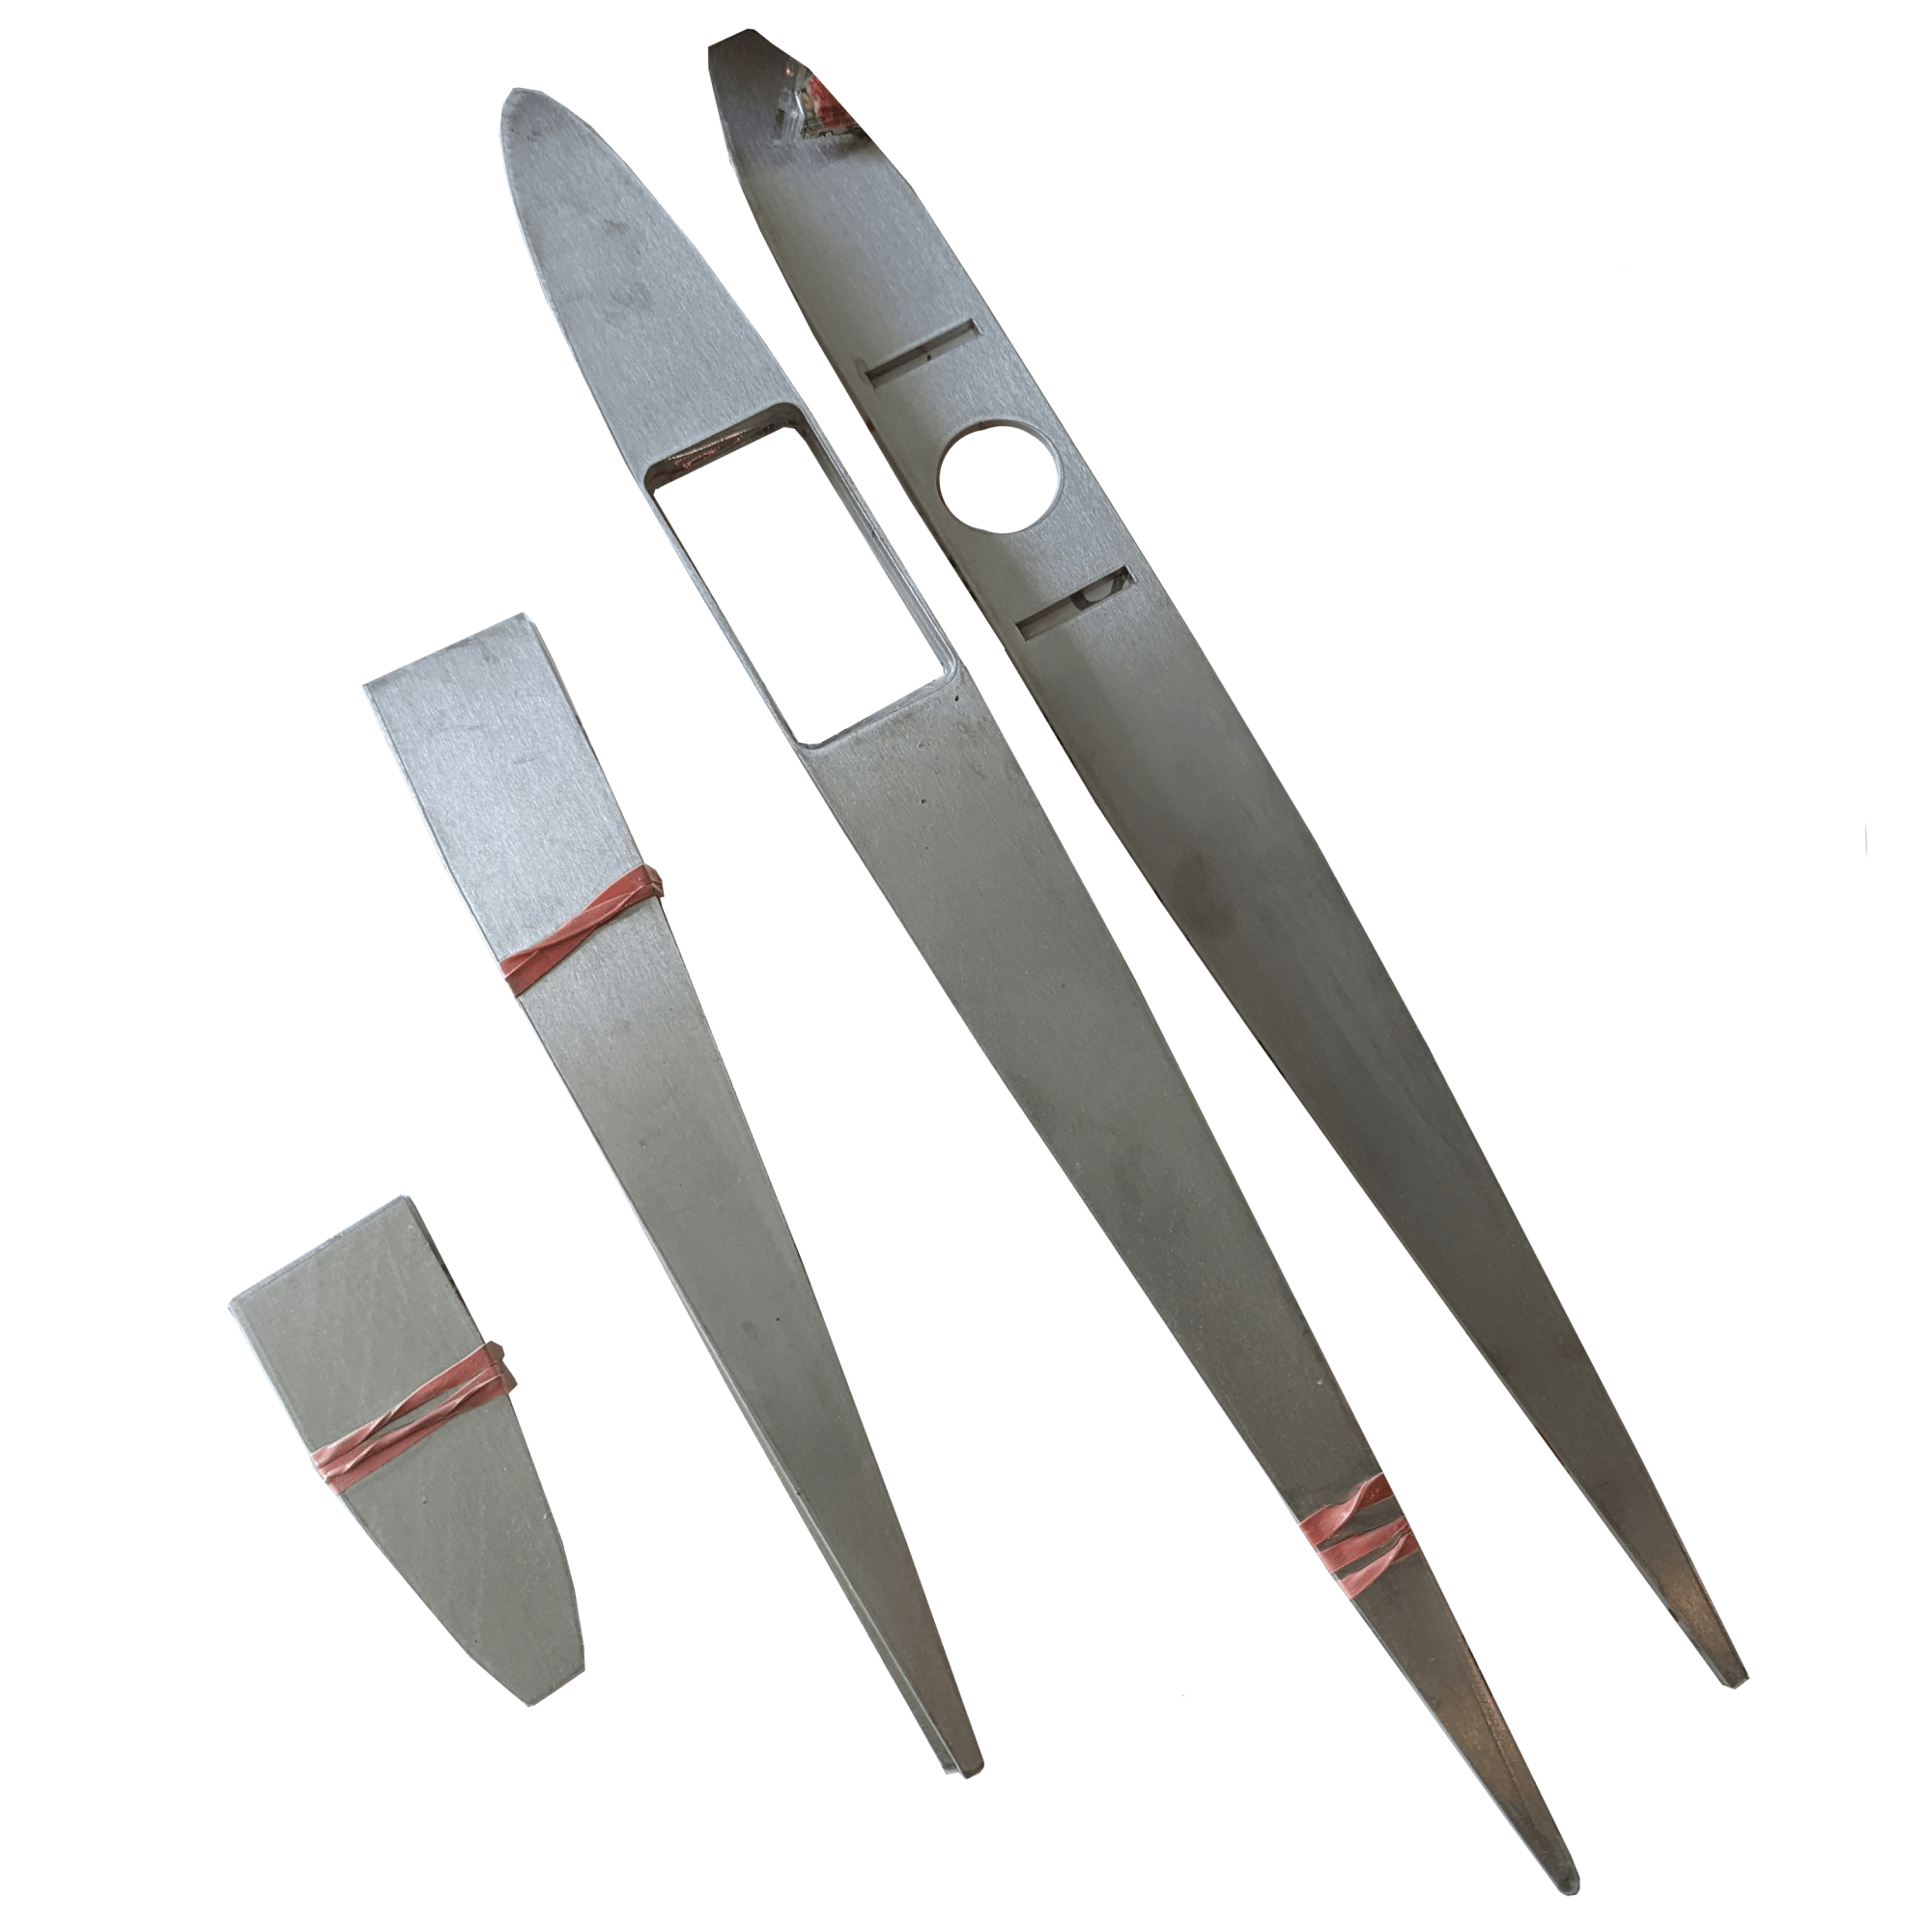
Step 2: Dry Fit Assembly


Step 3: Assemble

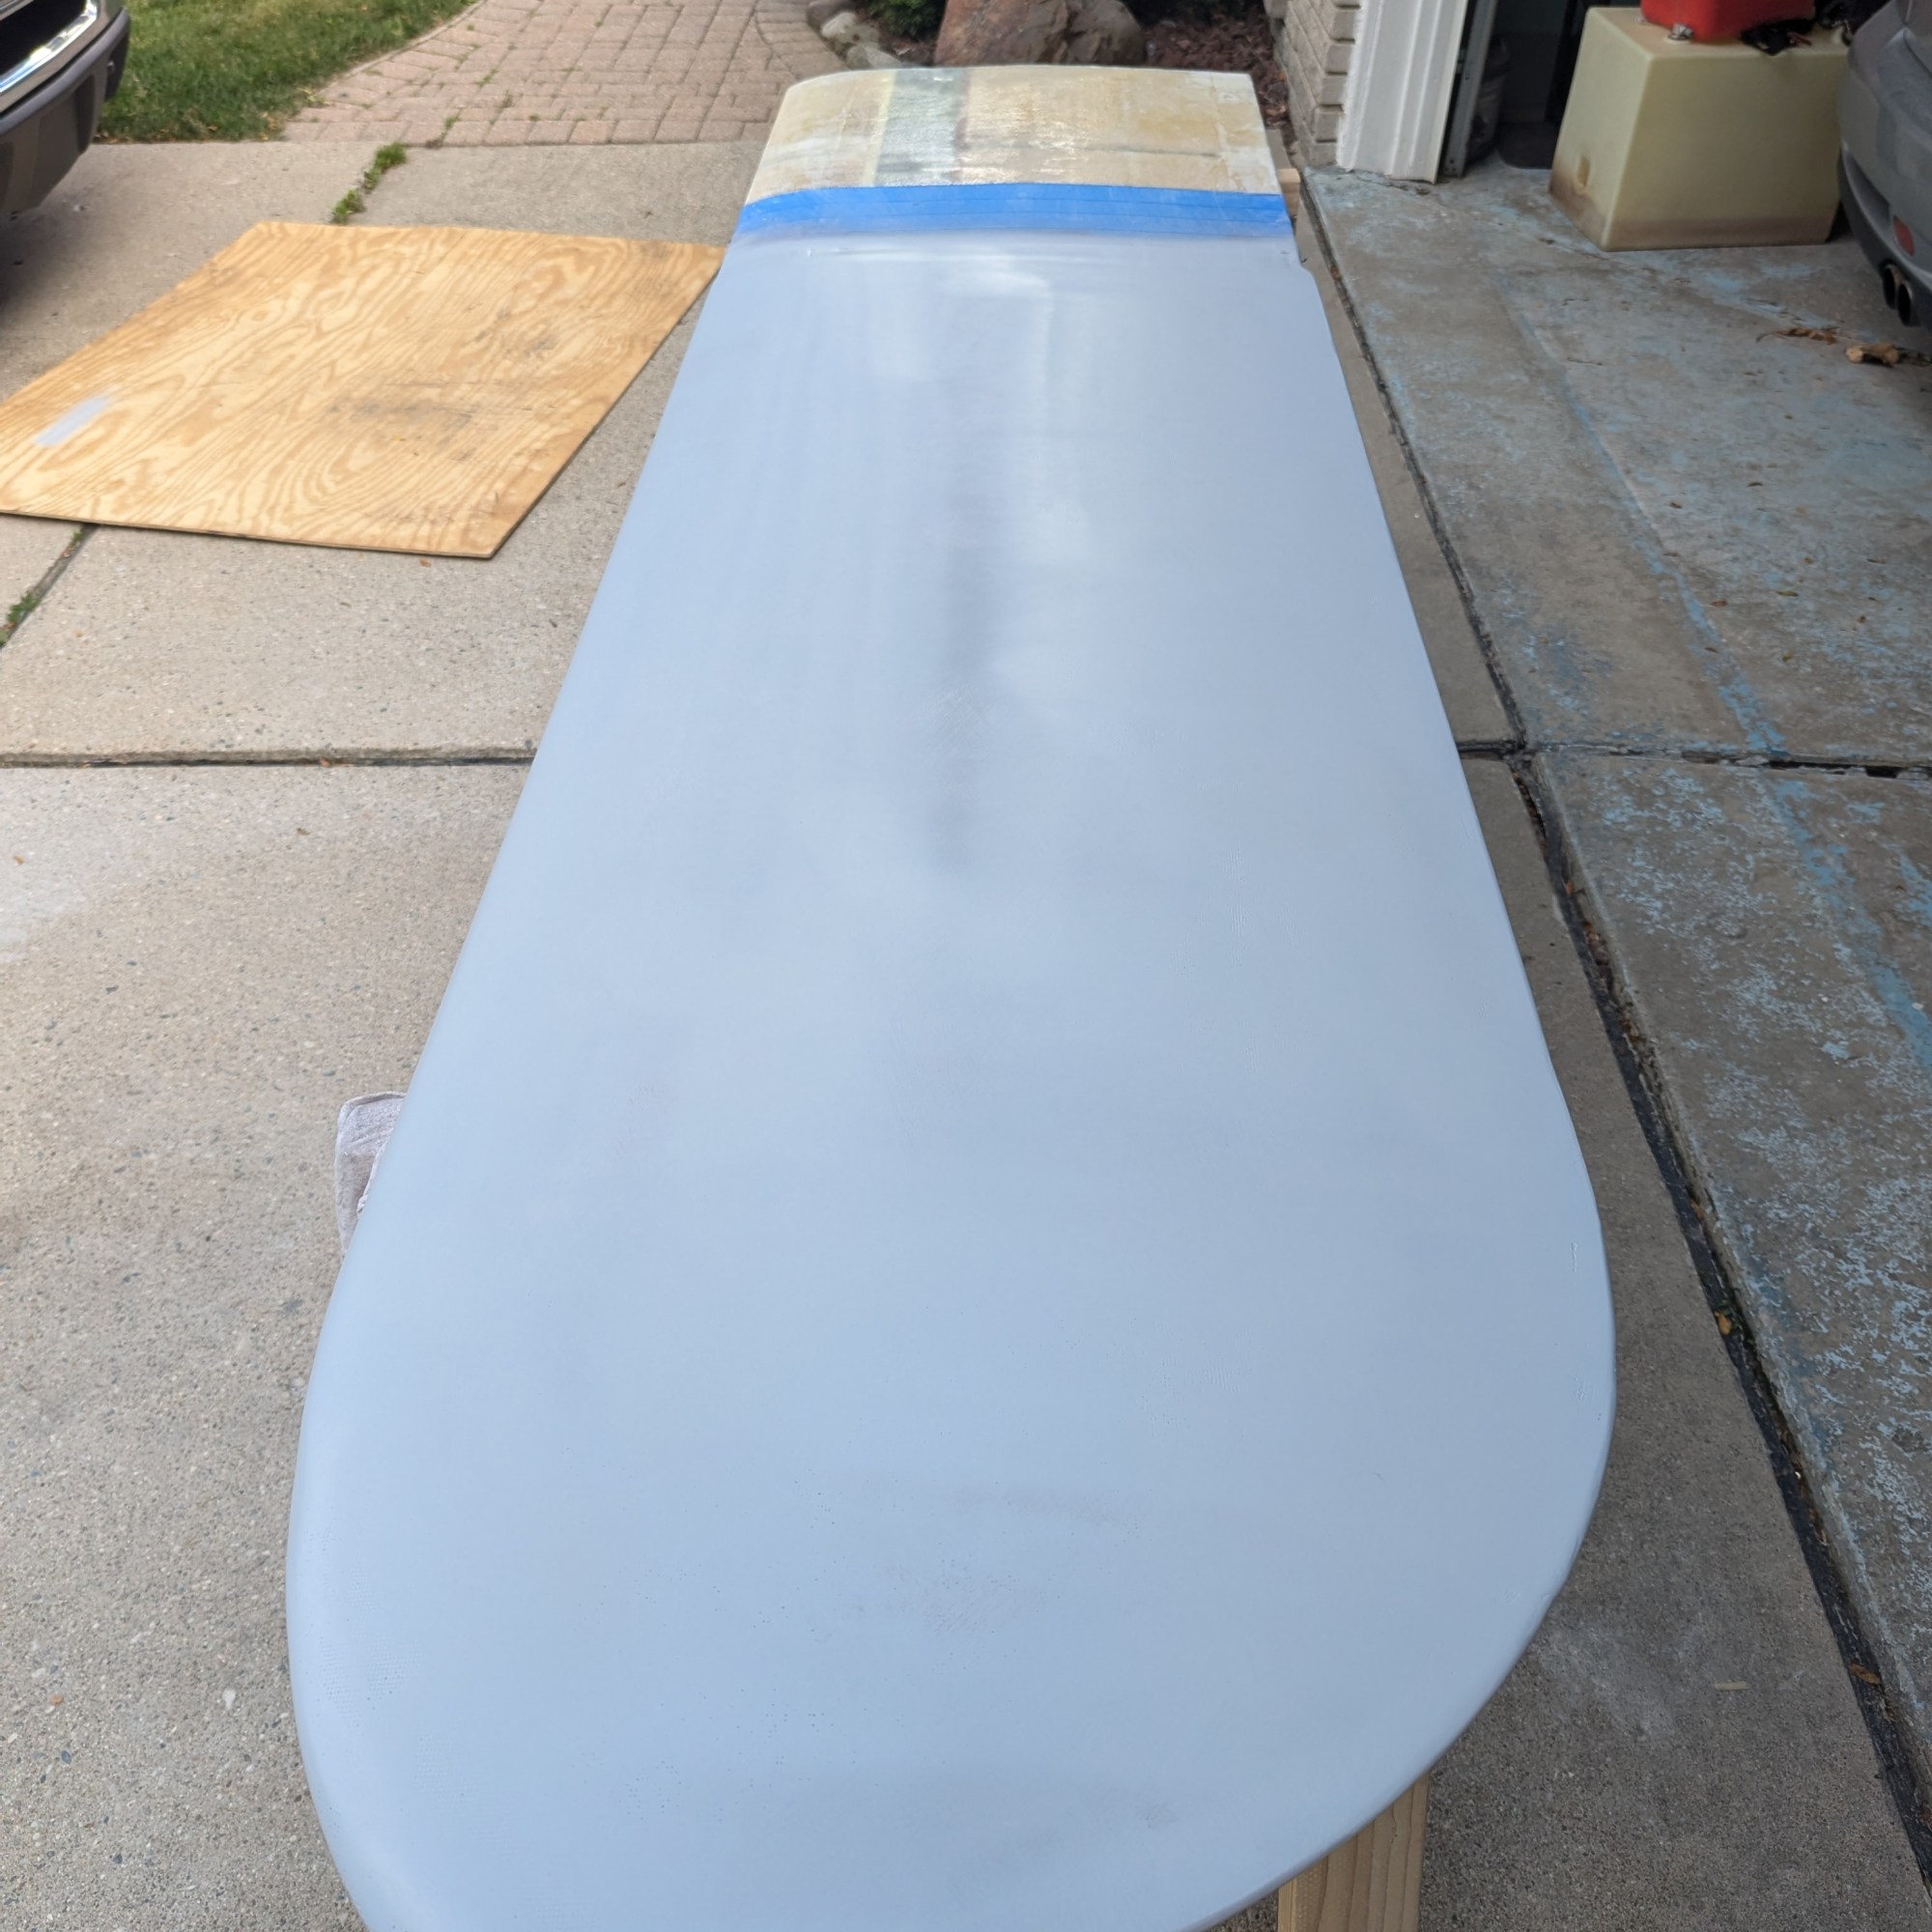
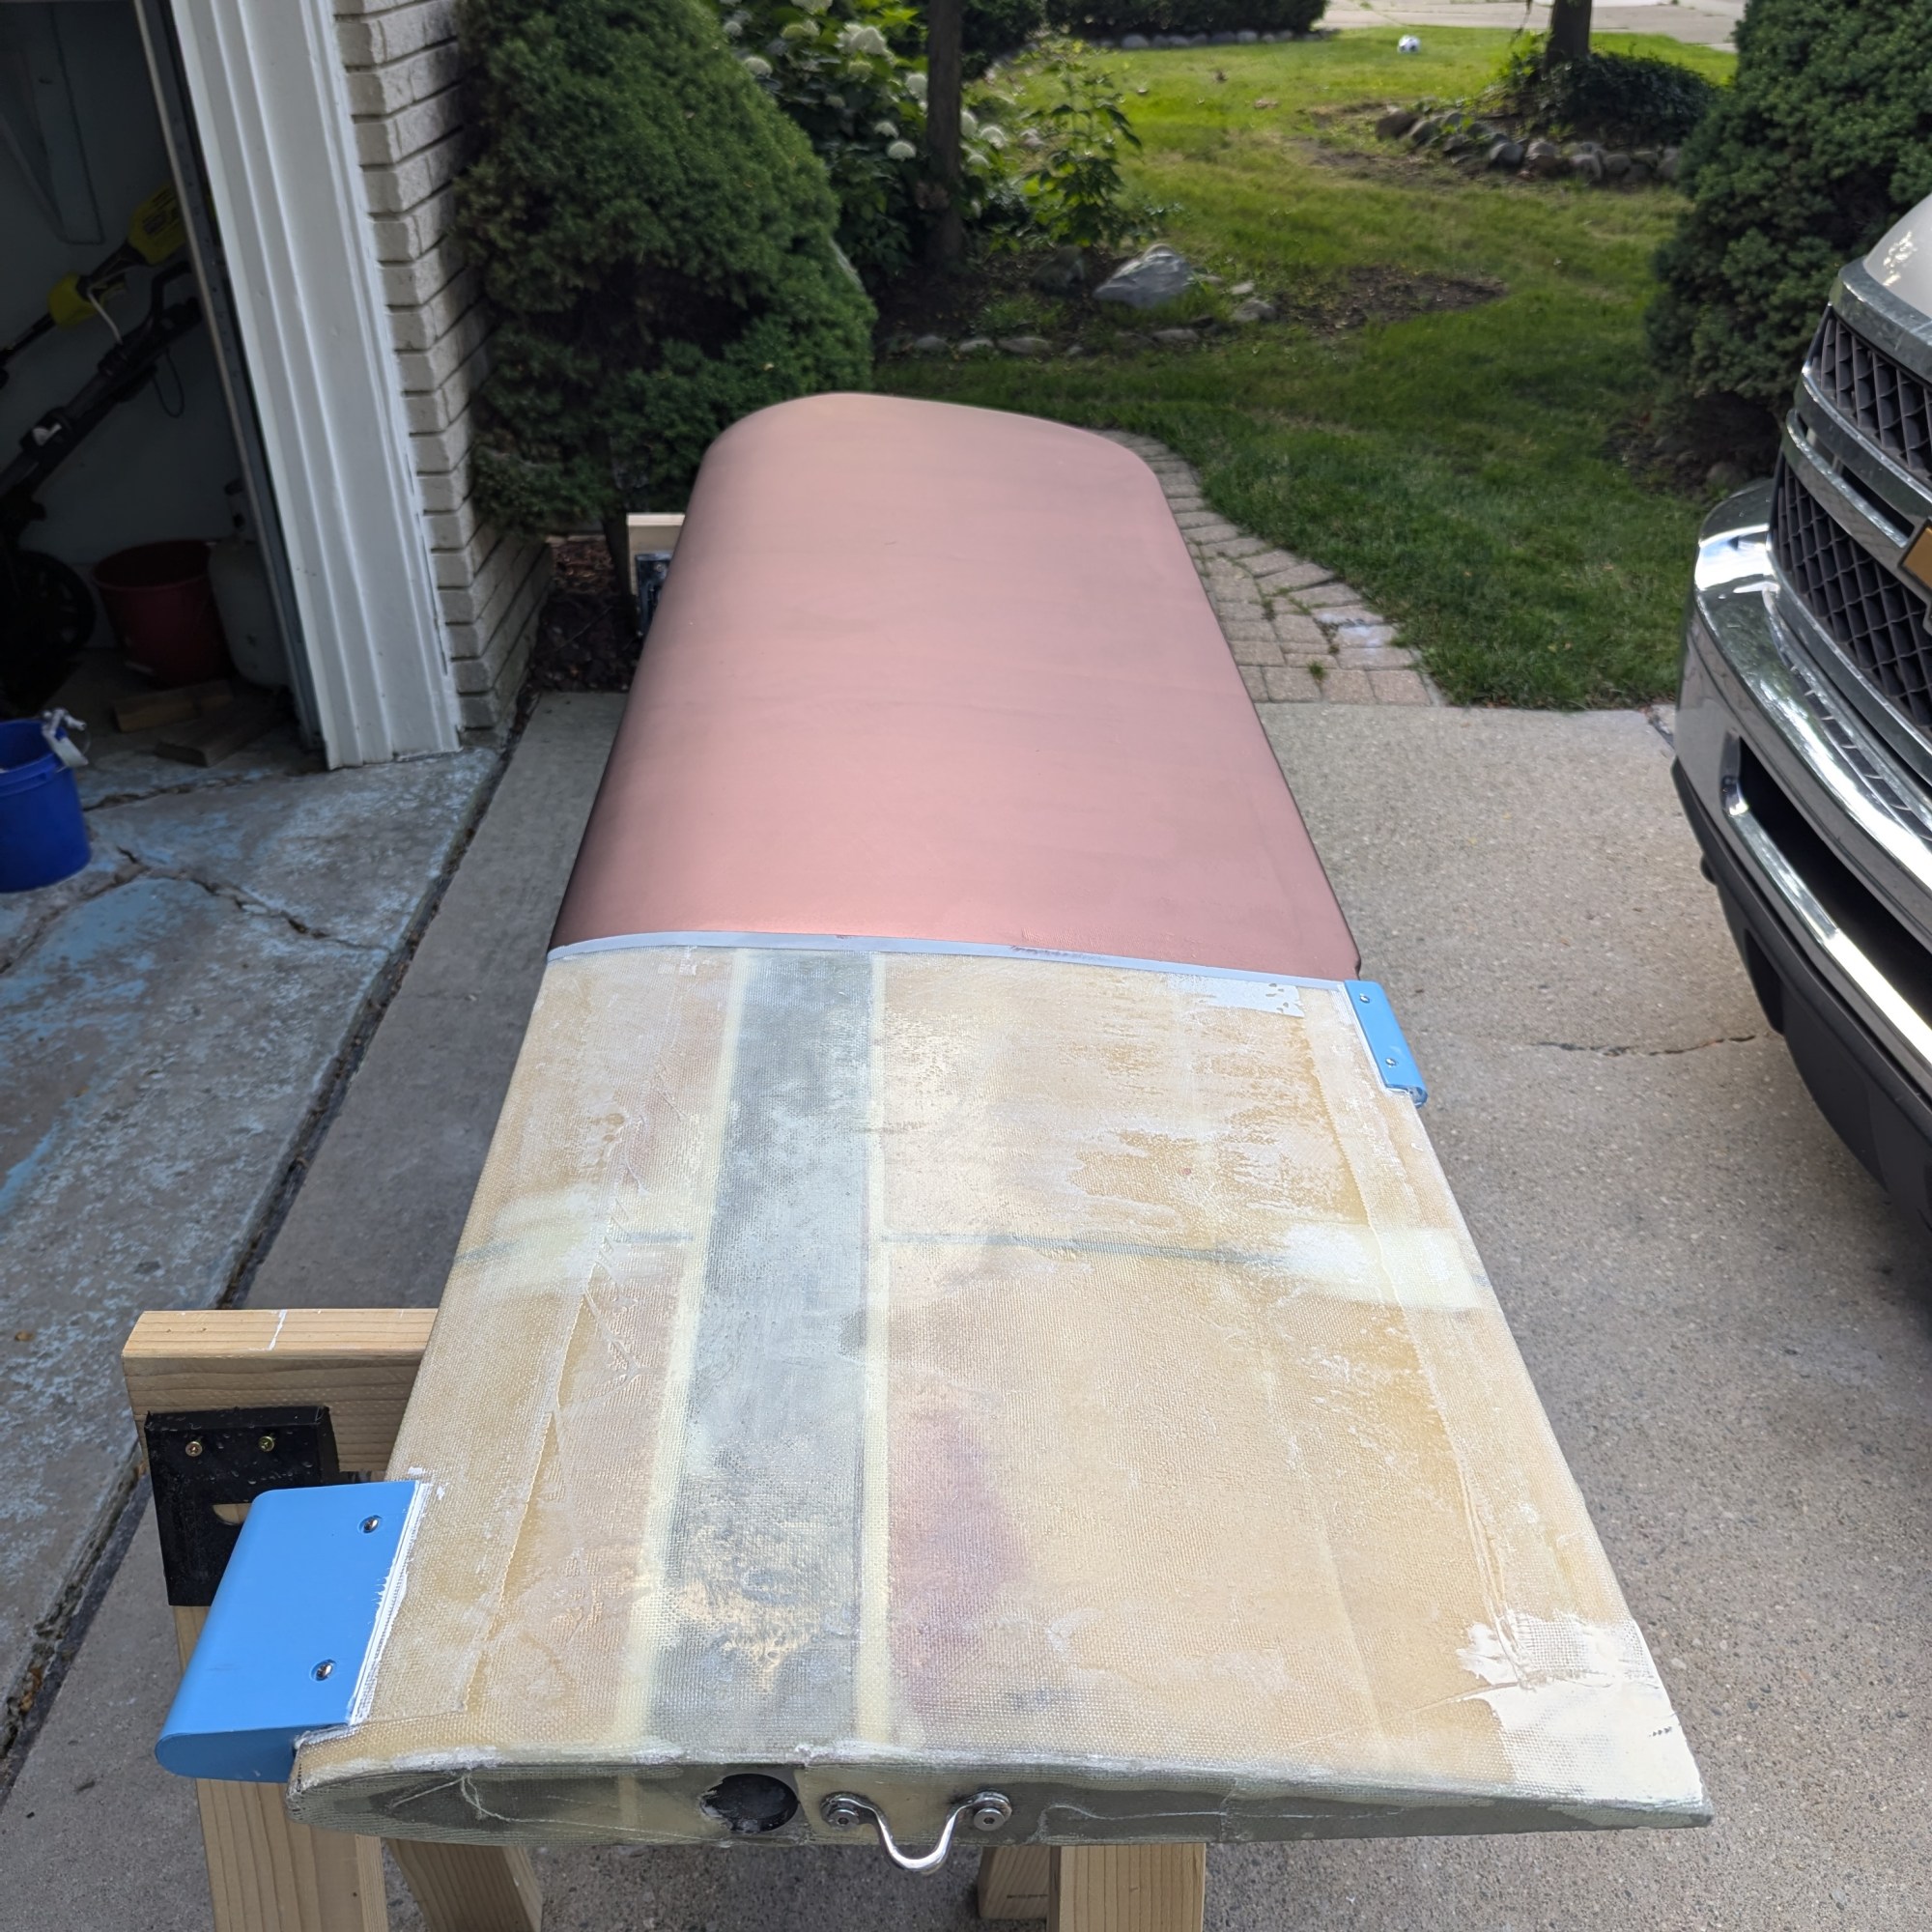
Step 4: Sand & Fiberglass


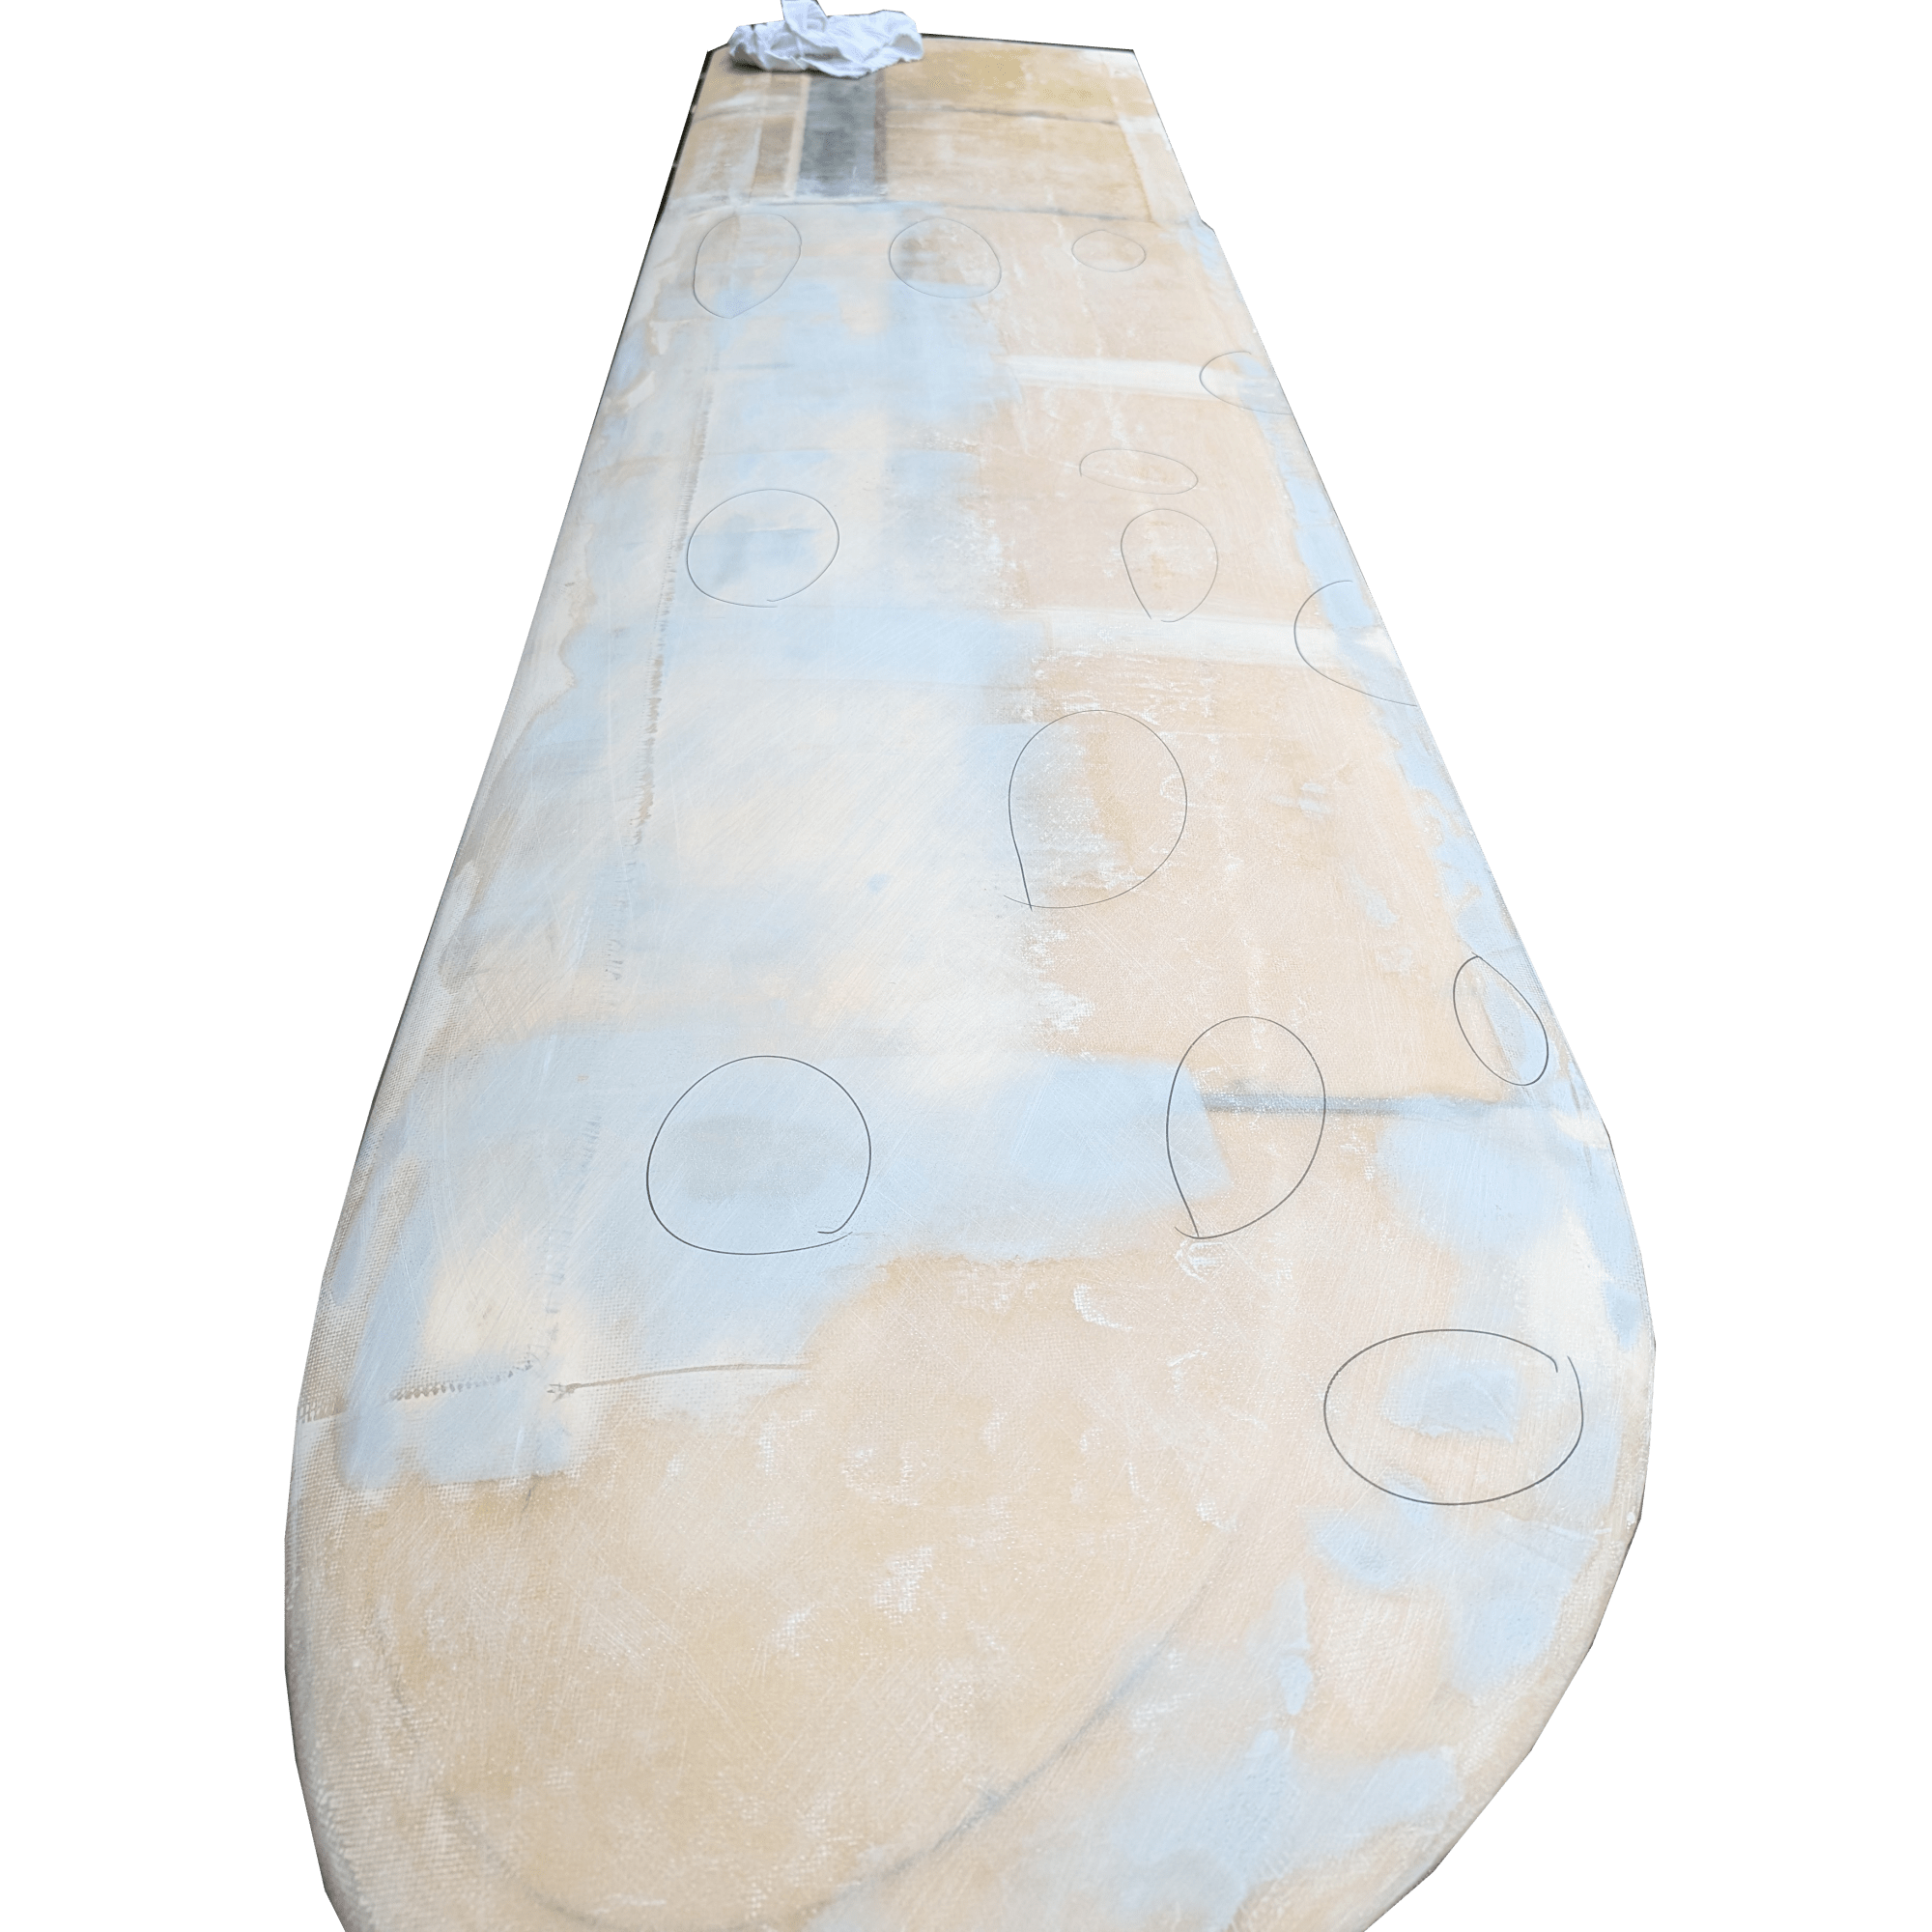
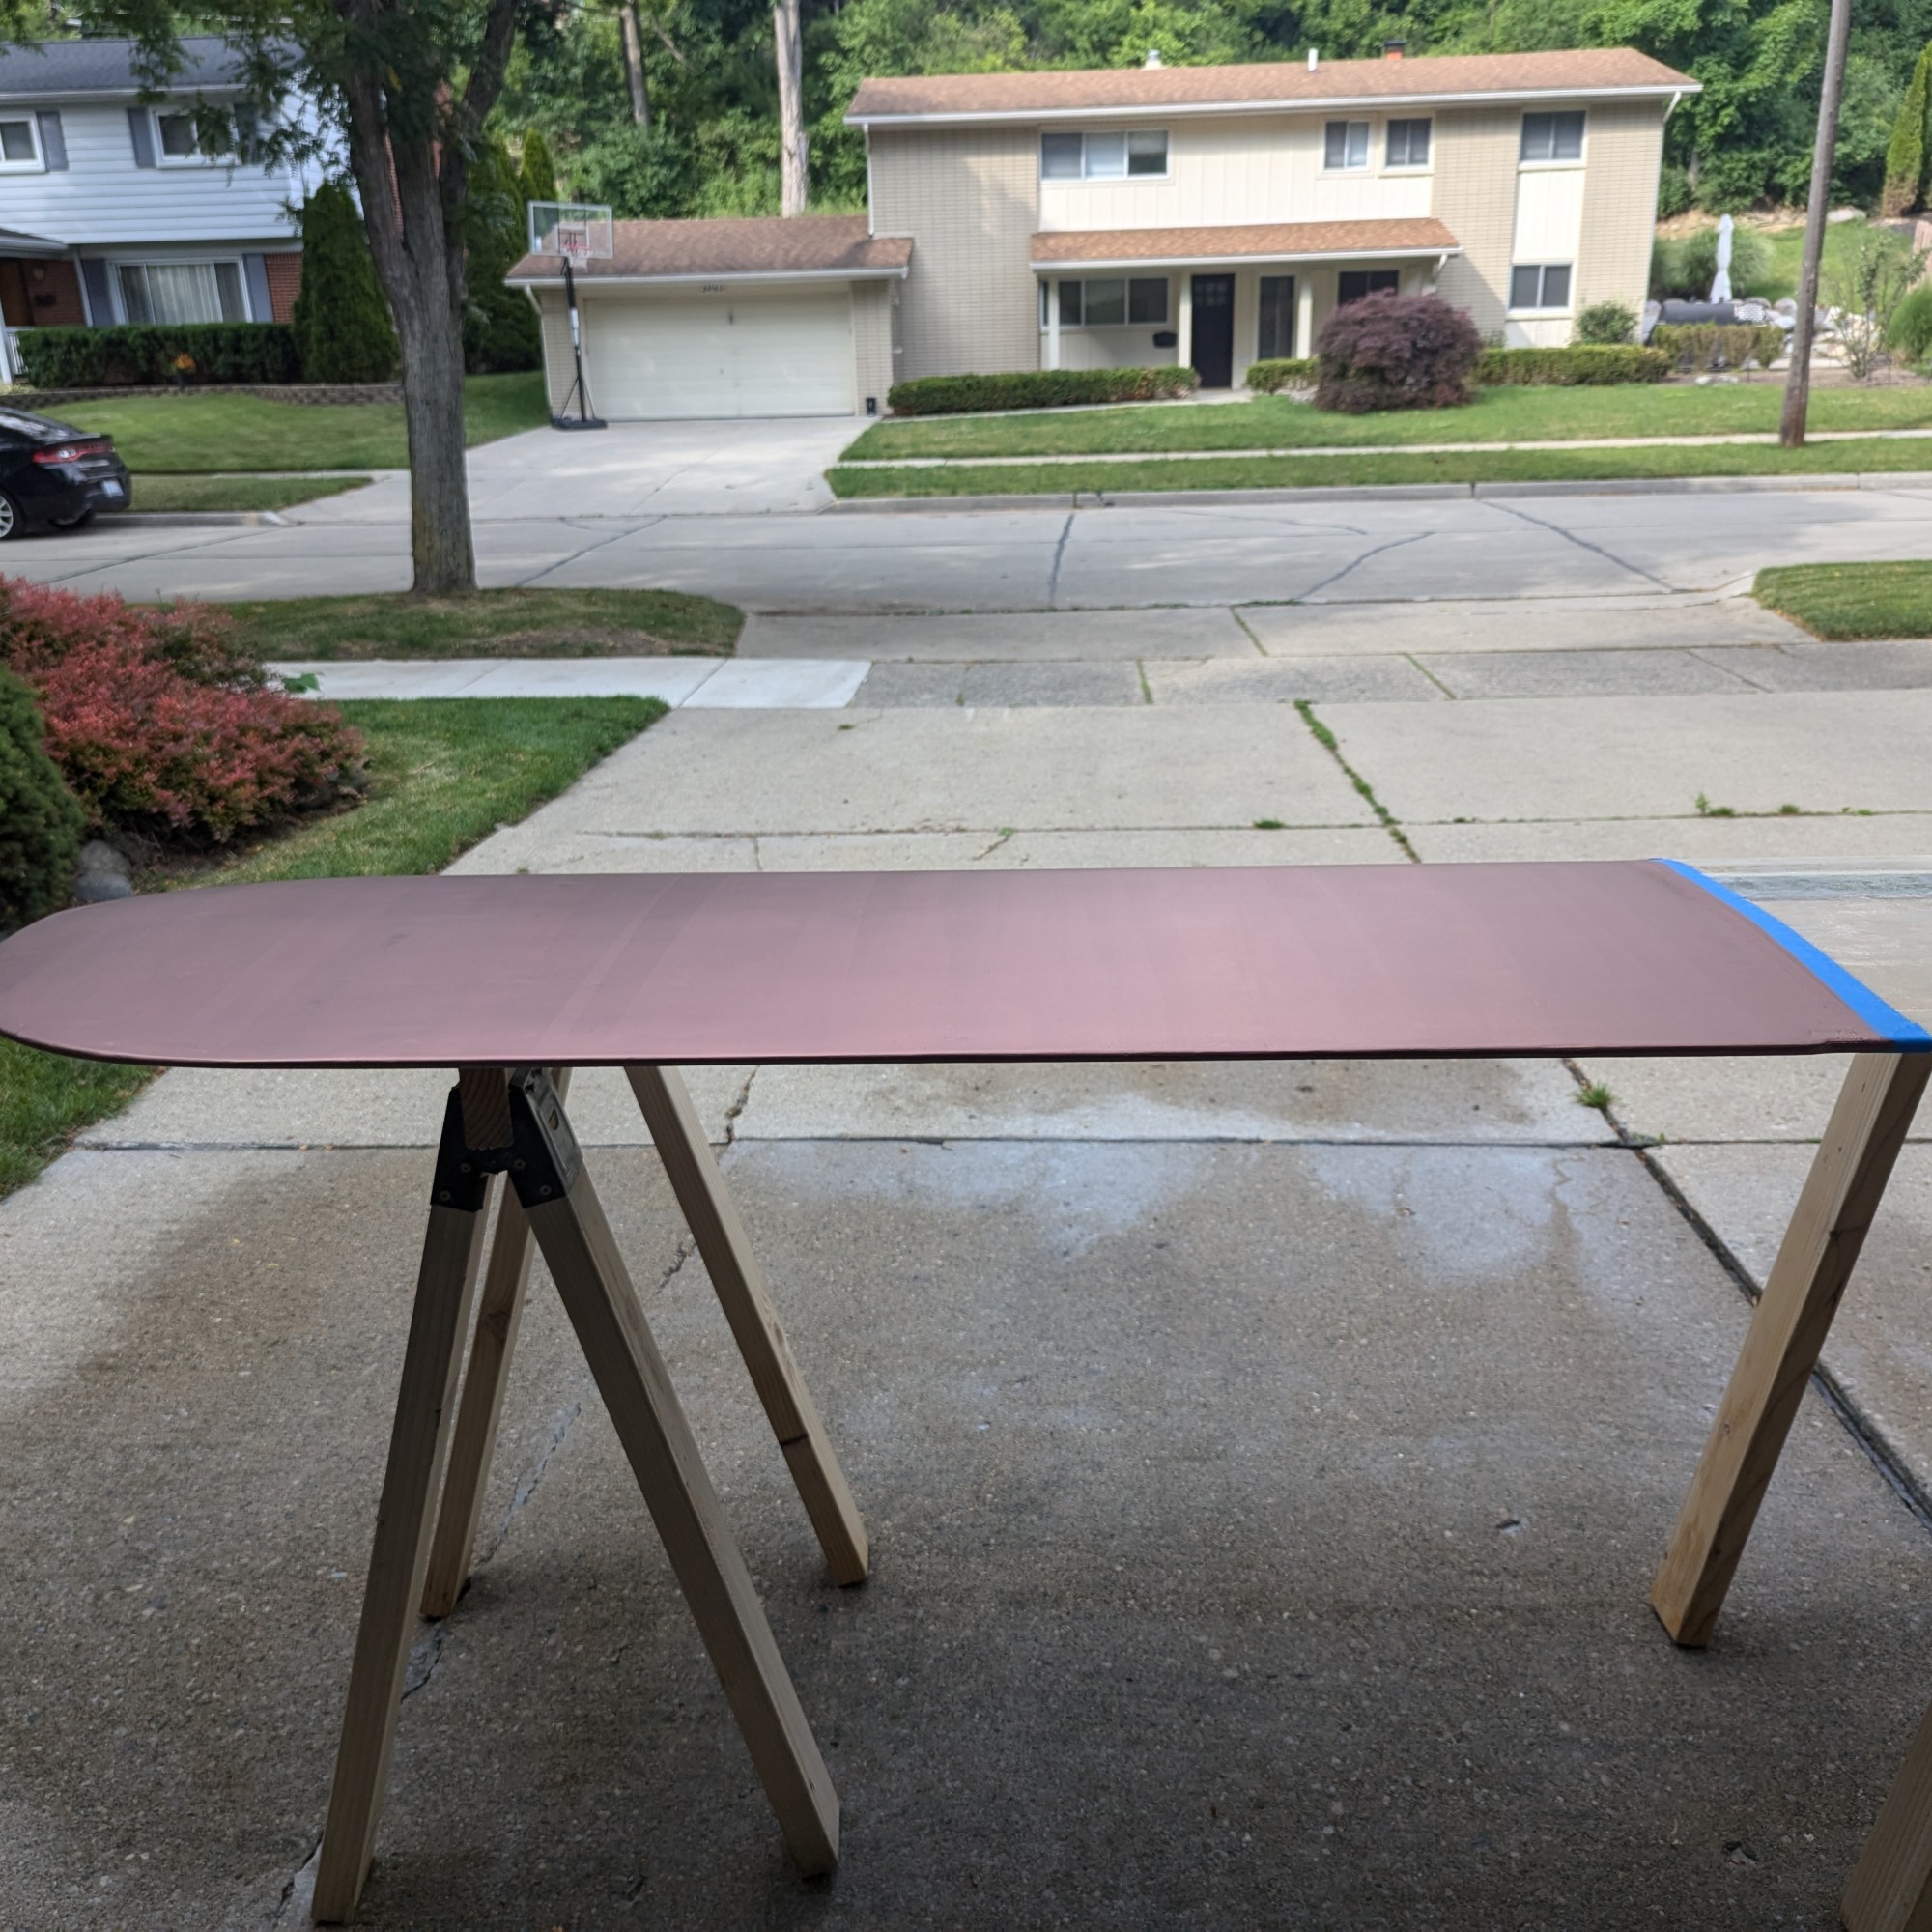
Step 5: Finish